The fastest way, to work with Kivy, on Windows, is to create a shortcut, on the desktop. This is shown, with an example, showing 3 widgets: label, progress bar, and slider.
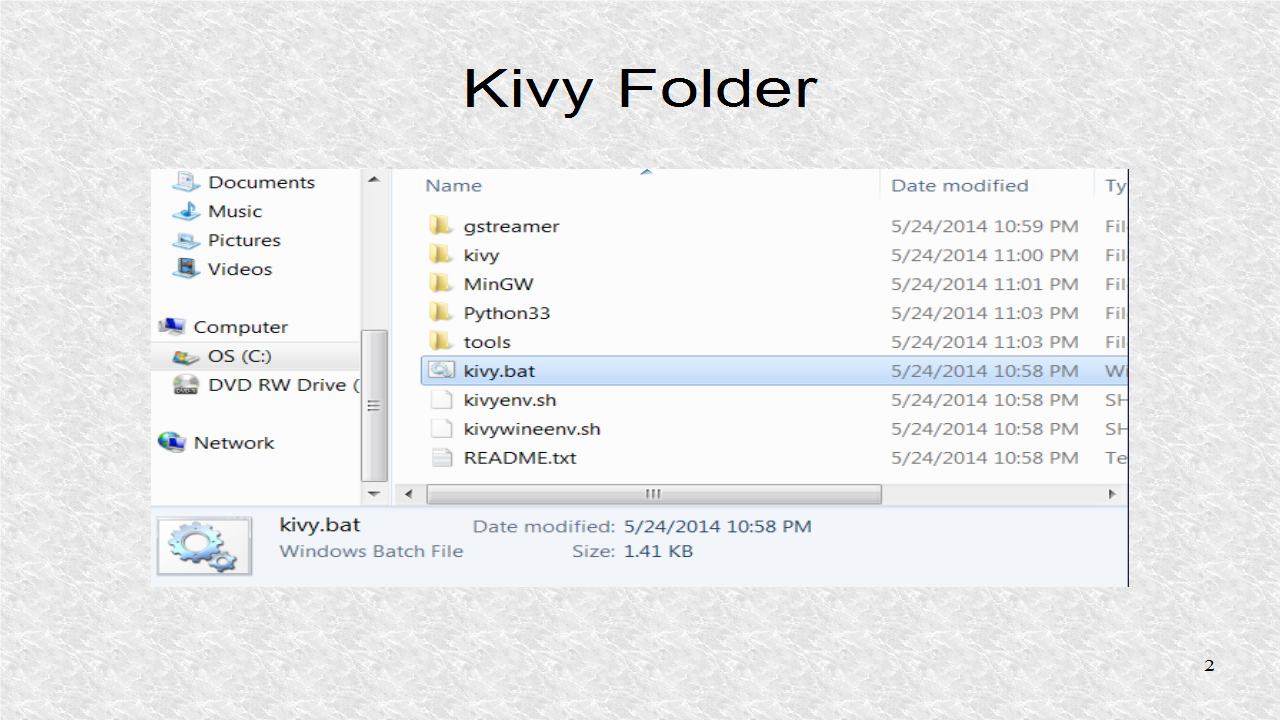
After downloading the zip file, from kivy.org, and unzipping it, go to the newly created folder. The folder should have a kivy.bat file.
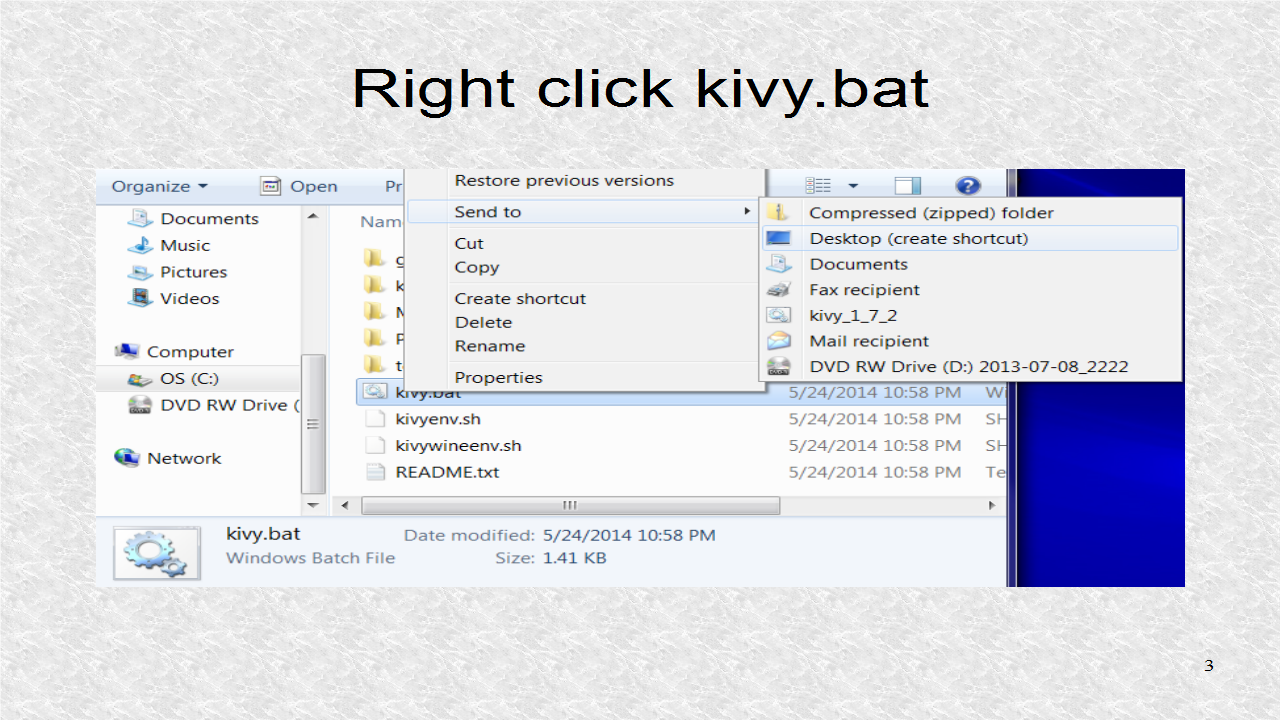
Right-click on kivy.bat, and select Send To, and then, Desktop (create shortcut).
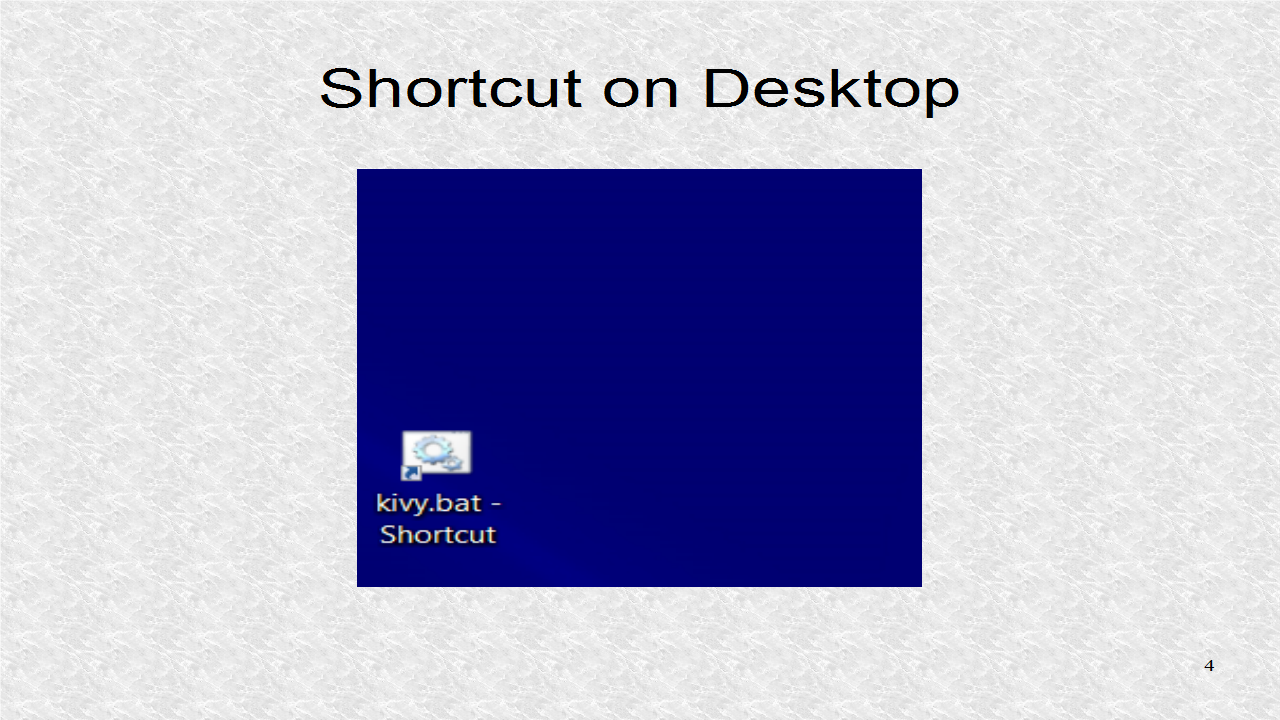
Now if you look at the Desktop, a shortcut should, have been created.
The python program that loads the kv file is based on BoxLayout.
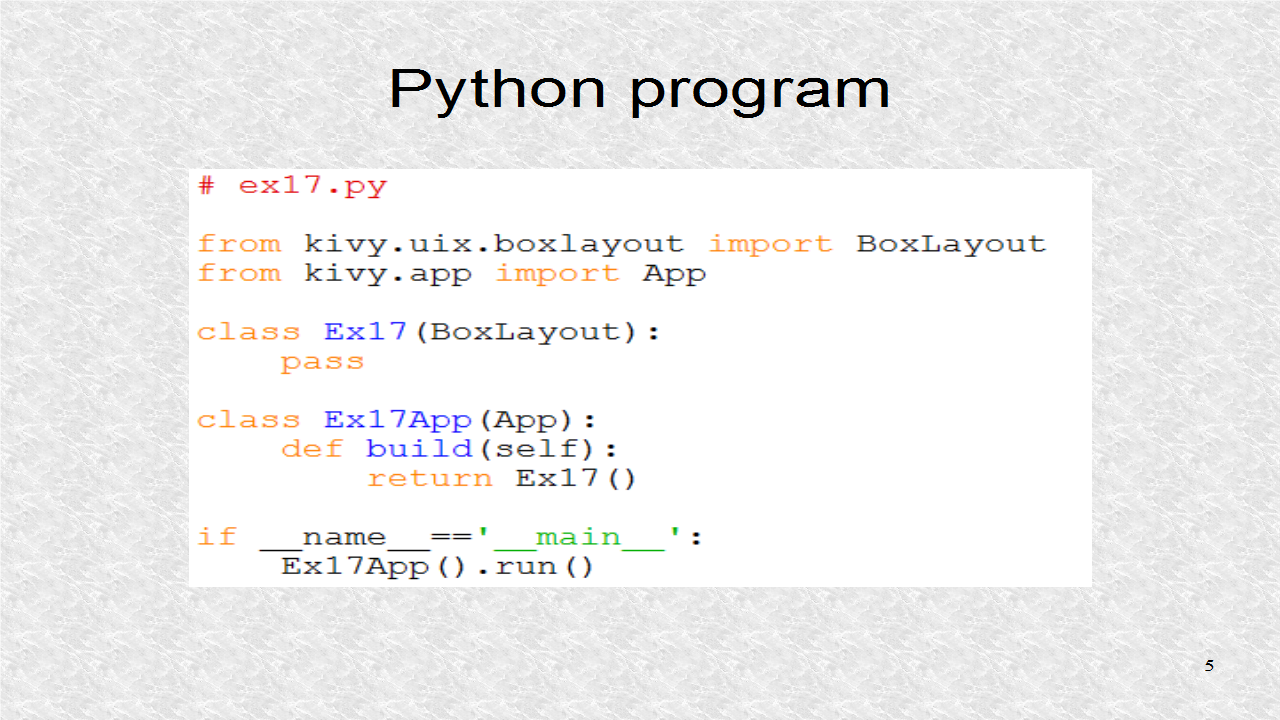
# ex17.py

from kivy.uix.boxlayout import BoxLayout
from kivy.app import App

class Ex17(BoxLayout):
    pass

class Ex17App(App):
    def build(self):
        return Ex17()

if __name__=='__main__':
    Ex17App().run()
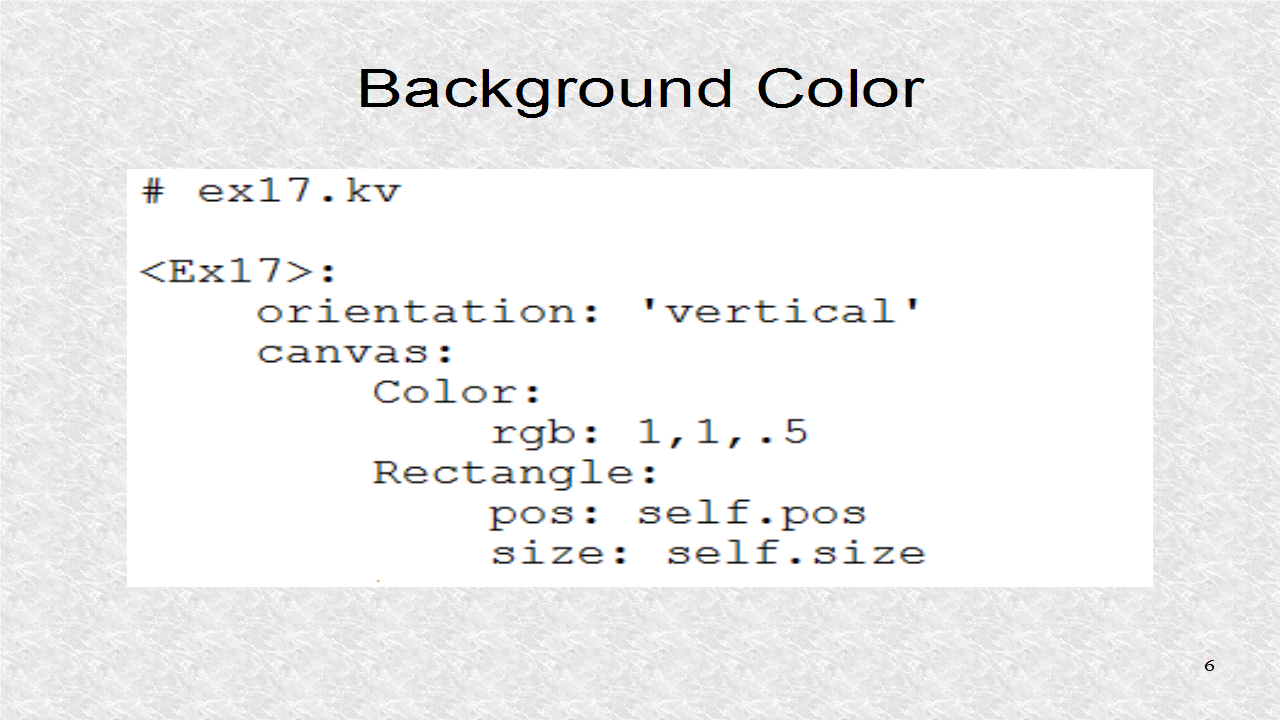
In the kv file, first the background color is set to a yellowish color.
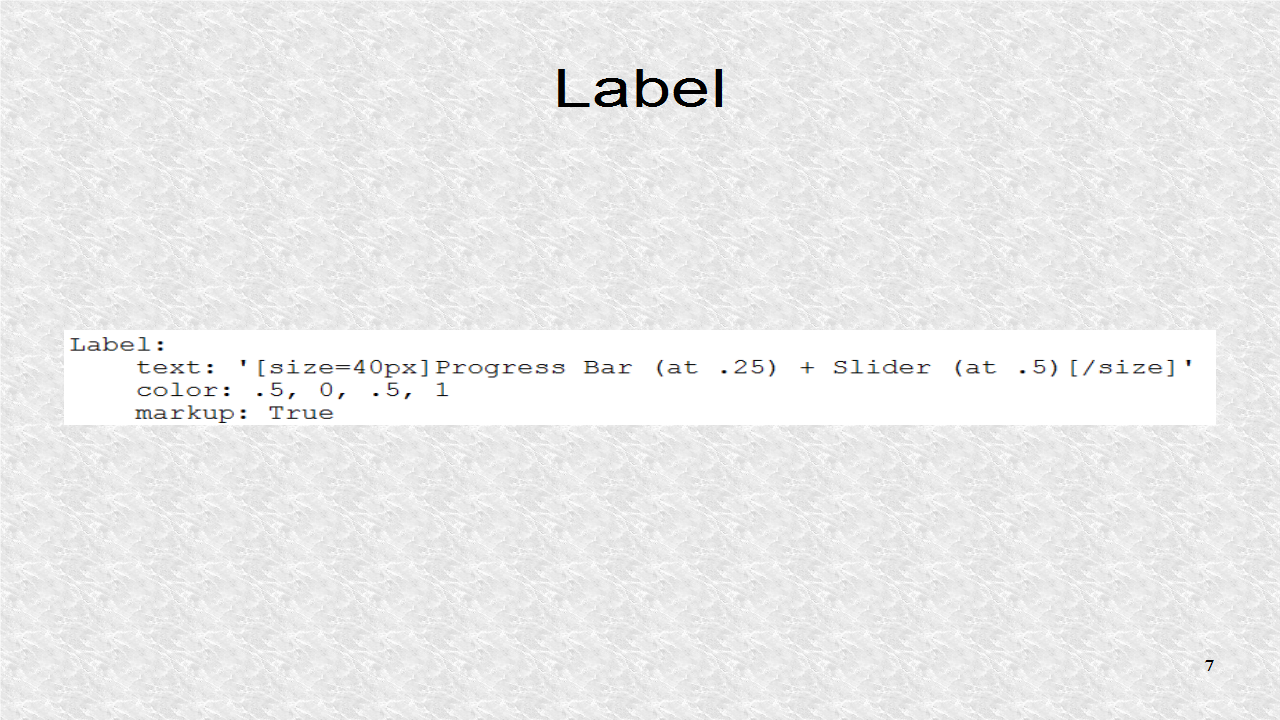
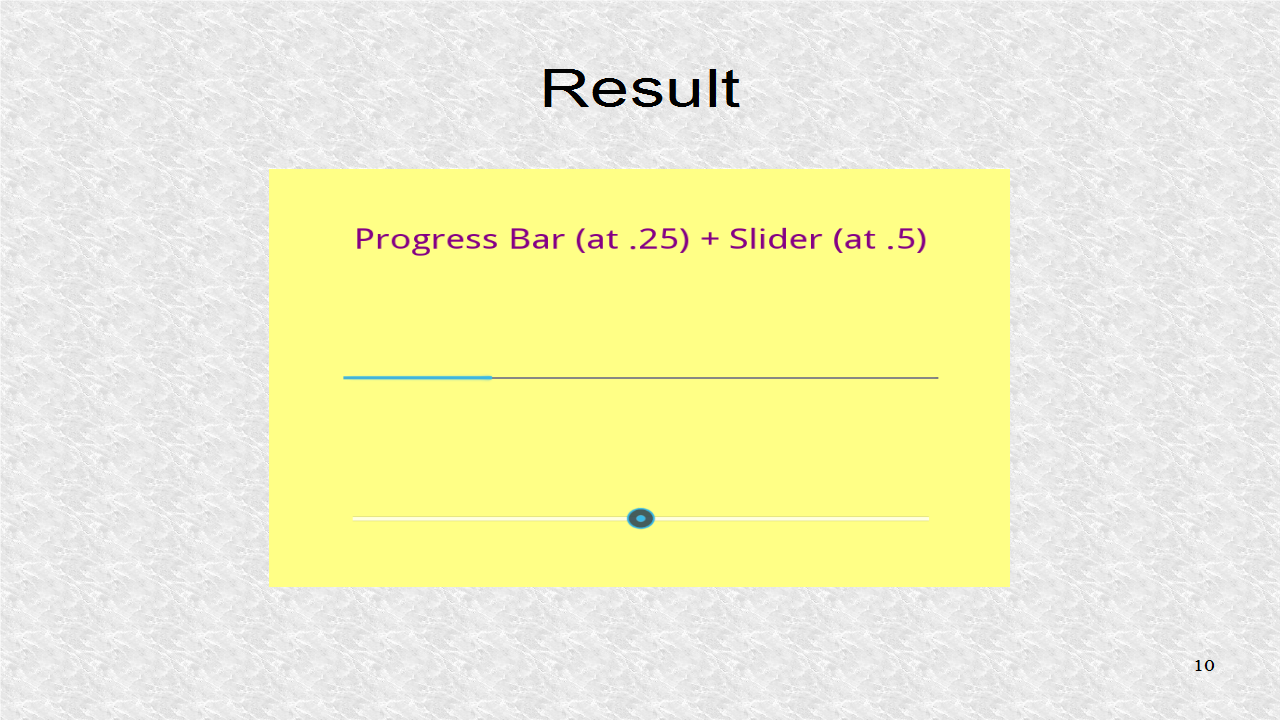
Next a label is displayed. It is a purple color. Markup is used, specifically, the size to set a large font-size.
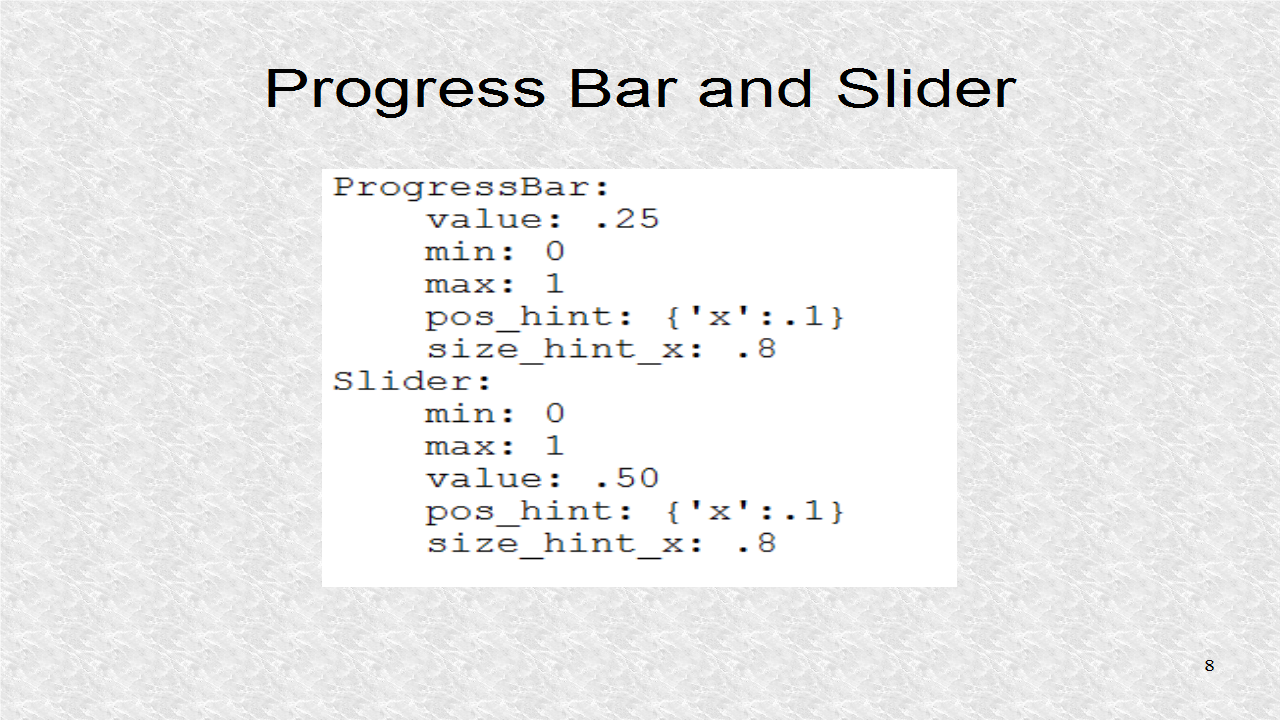
The Progress Bar and the Slider are next in the Layout. Both have a min of 0 and max of 1. The current value of the progress bar is 0.25 and the current value of the slider is 0.5. The slider is interactive and can be changed at run-time. Both of these widgets go from 10% of width to 90% of width.
# ex17.kv

<Ex17>:
    orientation: 'vertical'
    canvas:
        Color:
            rgb: 1,1,.5
        Rectangle:
            pos: self.pos
            size: self.size
    Label:
        text: '[size=40px]Progress Bar (at .25) + Slider (at .5)[/size]'
        color: .5, 0, .5, 1
        markup: True
    ProgressBar:
        value: .25
        min: 0
        max: 1
        pos_hint: {'x':.1}
        size_hint_x: .8
    Slider:
        min: 0
        max: 1
        value: .50
        pos_hint: {'x':.1}
        size_hint_x: .8
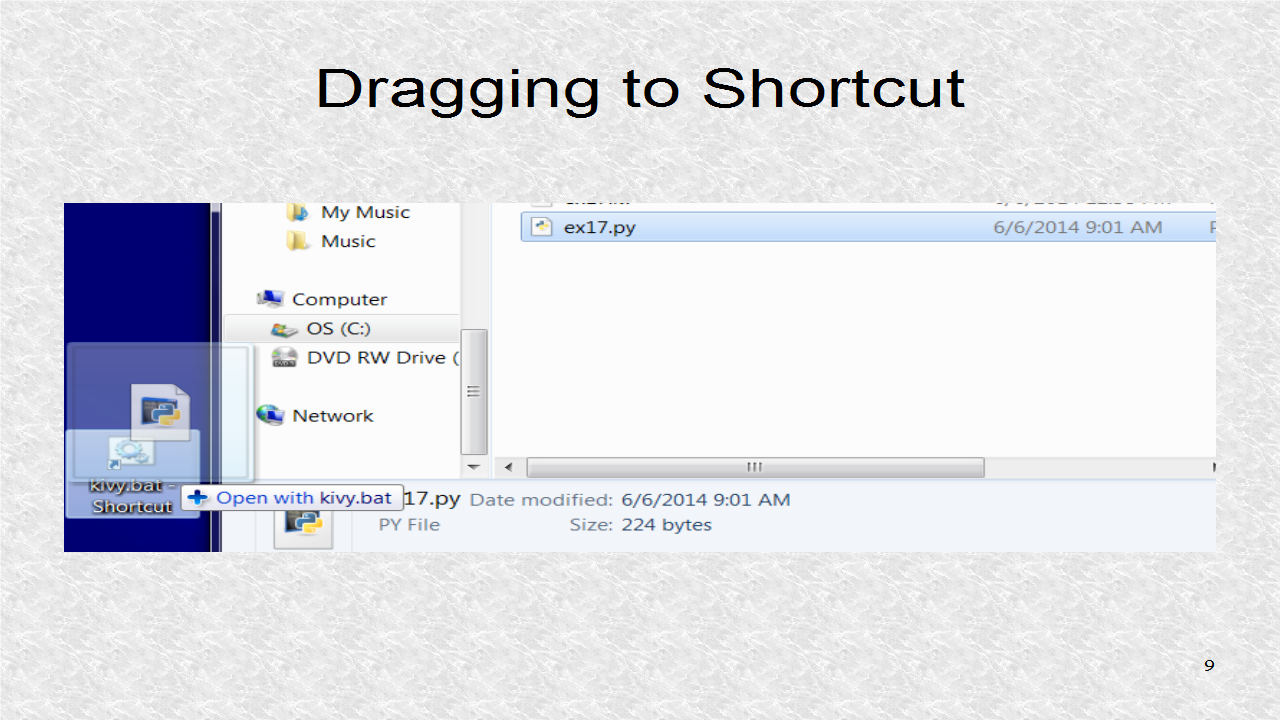
After the python and kv files are saved, you can drag the python file to the Shortcut. Note, it should say Open with kivy.bat, when it is very near, and you may drop it there. This does not mean the file will actually go on the Desktop.
This is the result showing the three widgets. These three widgets will be used in the application which we will cover next and which was previewed in the last tutorial. The progress bar is only for displaying results and only the slider is interactive. We will see how the current slider value can be found by the progress bar, as well as the python program.
Good Post! Thank you so much for sharing this pretty post, it was so good to read and useful to improve my knowledge as updated one, keep blogging.
ReplyDeletePython Training in electronic city