We can use Kivy settings to set up our setting screens. In almost any Kivy application, pressing F1 will lead to the Kivy setting screen.

To show how to set up your setting screen you have to write a json file, or alternatively, a json variable. We use the later here. A python file ex53json.py is written. It includes one variable in json format. First, there is a heading of Shape. Next there is a Circle selector. There are three other shapes, shown after Slide 3.

Finally, we start a Size section. Its only element is a number called 'pixels'. Finally the entire json variable is turned into a String, using the dumps(), function.

#ex53json.py
import json
A=[
    { "type": "title",
      "title": "Shape"},

    { "type": "bool",
      "title": "Circle",
      "key": "circle",
      "section": "shape"},

    { "type": "bool",
      "title": "Square",
      "key": "square",
      "section": "shape"},

    { "type": "bool",
      "title": "Up Triangle",
      "key": "up_triangle",
      "section": "shape"},

    { "type": "bool",
      "title": "Down Triangle",
      "key": "down_triangle",
      "section": "shape"},

    { "type": "title",
      "title": "Size"},

    { "type": "numeric",
      "title": "Pixels",
      "key": "pixels",
      "section": "size",
      "desc": "Size of shapes"}
]
json_data = json.dumps(A)
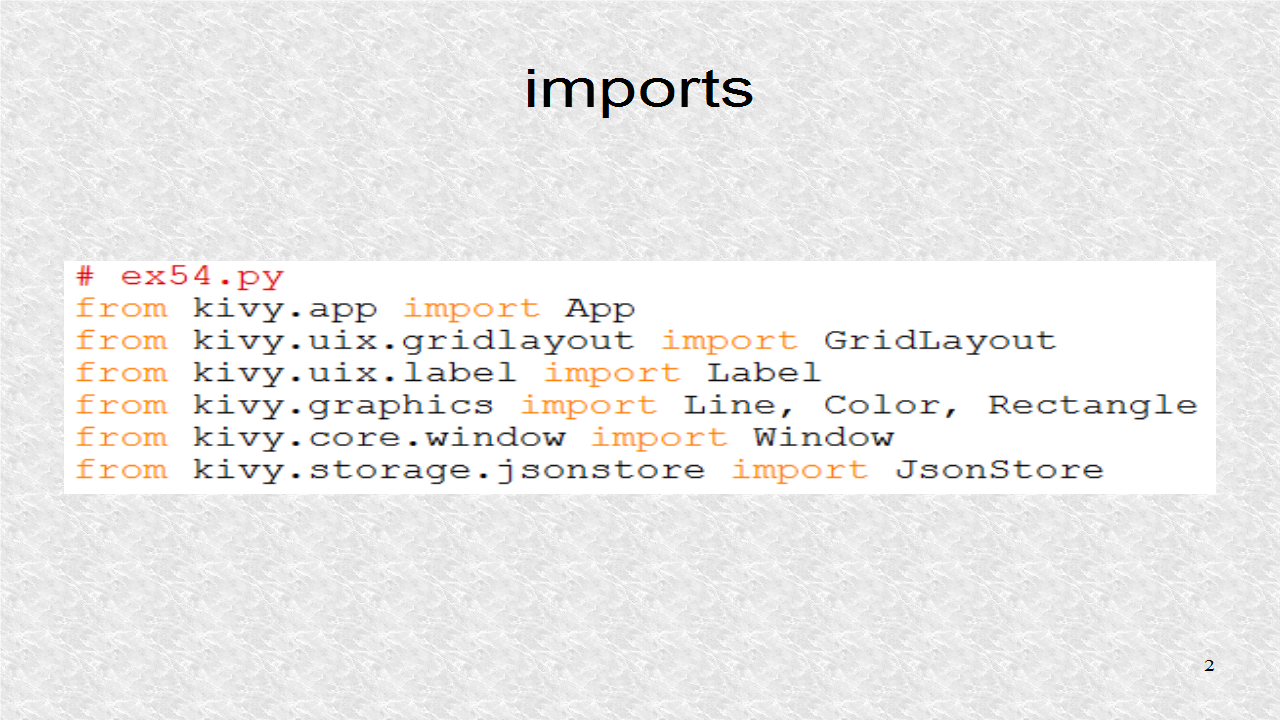
In the main file, the json python file is imported, in the last line of the import section. Besides App, the graphics Color and Rectangle are imported as we use them in Python code. The root is based on RelativeLayout. The Window is imported to get size of screen. We use a DictProperty to set a Dictionary.

The root is empty in python file. For the app, we first set use_kivy_settings as False so the Kivy setting screen is disabled. You can comment this out, or remove it, if you do want the main Kivy setting screen. Next, a dictionary with 5 elements is set up.

After run() is called, Kivy will execute build_config(). This will set the defaults for the setup screen. Here, it sets the 4 shapes as 1 (ON), and 'pixels' as 50. A text file, .ini file will be created, if it does not already exist.

Shortly afterwards, build() is called. Using the values in the .ini file, we set up the Dictionary.

When we click on the Button, which we will later create in the kv file, or press F1, this function will be executed, unless it is already cached, and in memory. We create a 'Settings' screen, and populate with data from the json file. Then using the canvas.before, we set the color for the setup screen.

Whenever a setting is changed, the on config change is called by Kivy. This will update the dictionary as well as the .ini file.

#ex53.py
from kivy.app import App
from kivy.graphics import Color, Rectangle
from kivy.uix.relativelayout import RelativeLayout
from kivy.core.window import Window
from kivy.properties import DictProperty
from ex53json import json_data
# Uncomment, next 2 lines to remove warning
#from kivy.clock import Clock
#Clock.max_iteration = 15
class Ex53(RelativeLayout):
pass
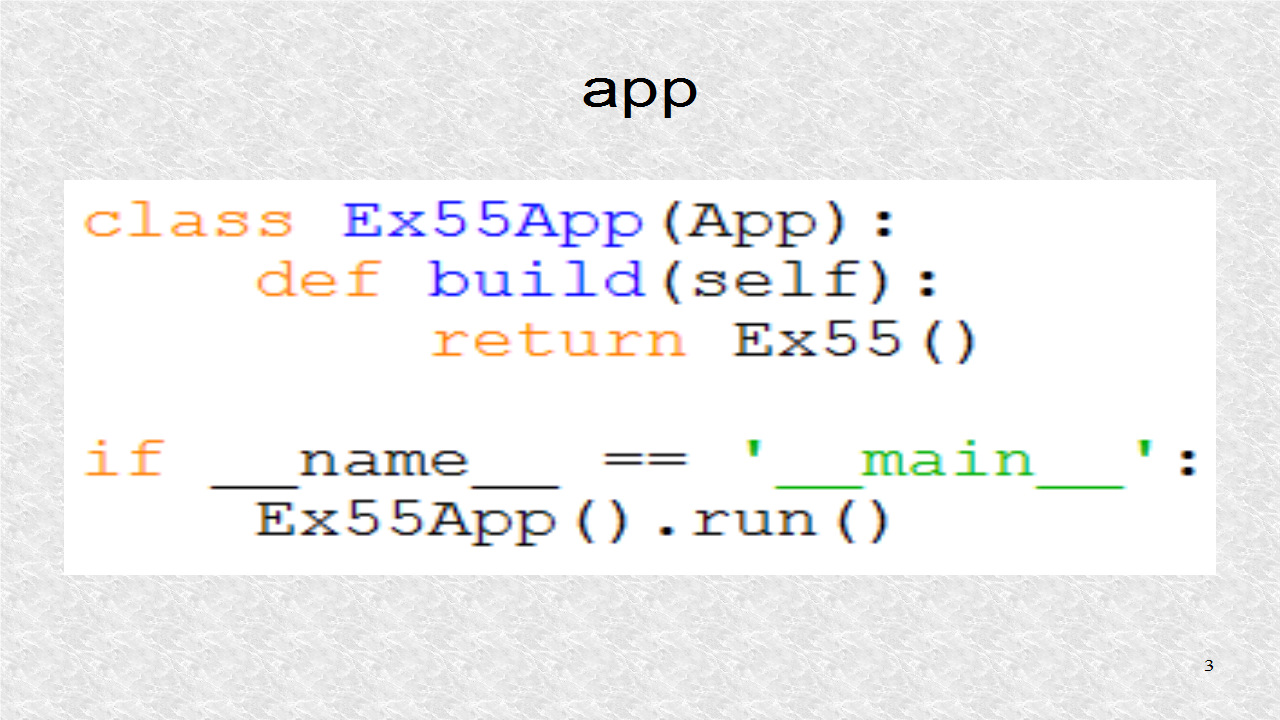
class Ex53App(App):
use_kivy_settings = False
Val = DictProperty({'circle':0,'square':0,'up_triangle':0,
'down_triangle':0,'pixels':0})
def build_config(self, config):
config.adddefaultsection('shape')
for val in ['circle','square','up_triangle','down_triangle']:
config.setdefault('shape', val, '1')
config.add_section('size')
config.setdefault('size', 'pixels', '50')
def build(self):
for val in ['circle','square','up_triangle','down_triangle']:
self.Val[val]=self.config.getint('shape',val)
self.Val['pixels']=self.config.getint('size','pixels')
return Ex53()
def build_settings(self, settings):
settings.add_json_panel('Settings',
self.config, data=json_data)
with settings.canvas.before:
Color(.2,.25,.25,1)
Rectangle(pos=(0,0),size=Window.size)
def on_config_change(self, config, section, key, value):
self.Val[key] = value
config.set(section,key,value)
config.write()
if __name__ == '__main__':
Ex53App().run()
In the kv file, we first set the background color.

The Circle Label is created, which will output the 'circle' dictionary value.

Then, we do the same for Square. Labels are also created for the Up Triangle and the Down Triangle Shapes, shown after Slide 14.

After the 4 shapes, we output a label with 'pixels' value.

We create a button with text of 'Settings (F1)'. If the button is clicked, it manually opens the settings. Note, you will get a warning, as well as the solution, which is included in the source file at blogspot, as comments.

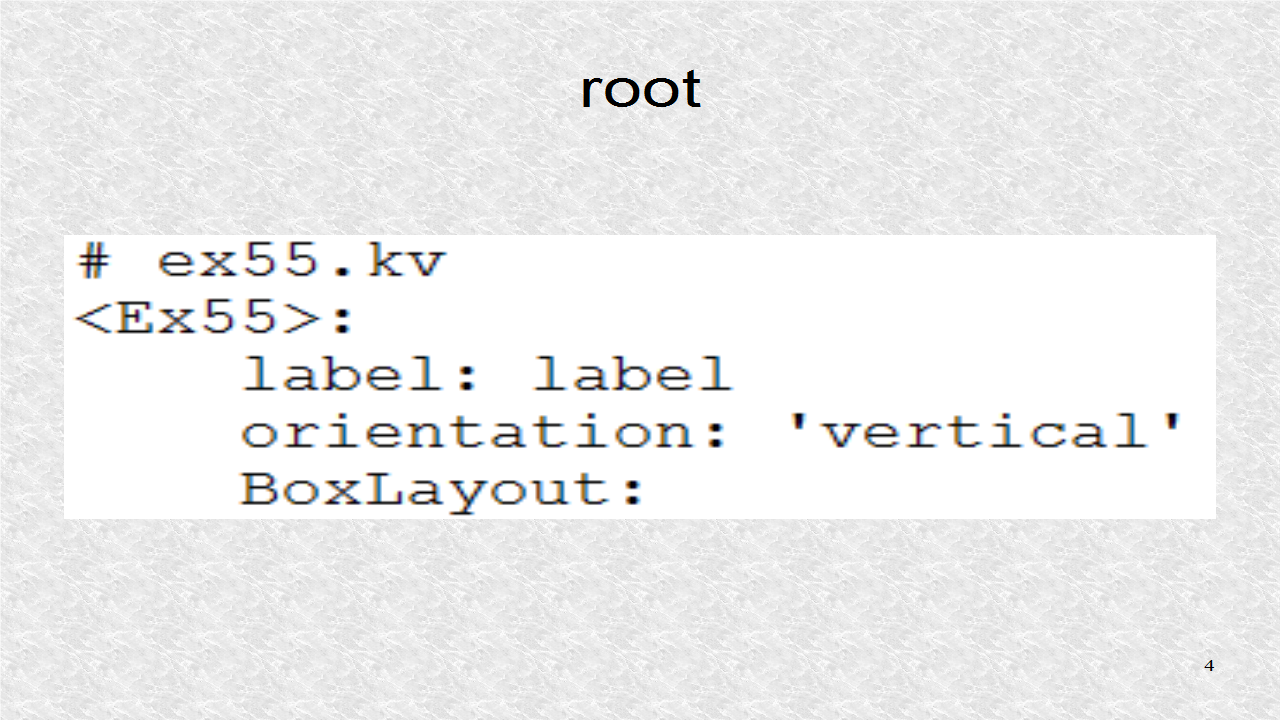
# ex53.kv
<Ex53>:
canvas:
Color:
rgb: .5,0,.5
Rectangle:
pos: self.pos
size: self.size
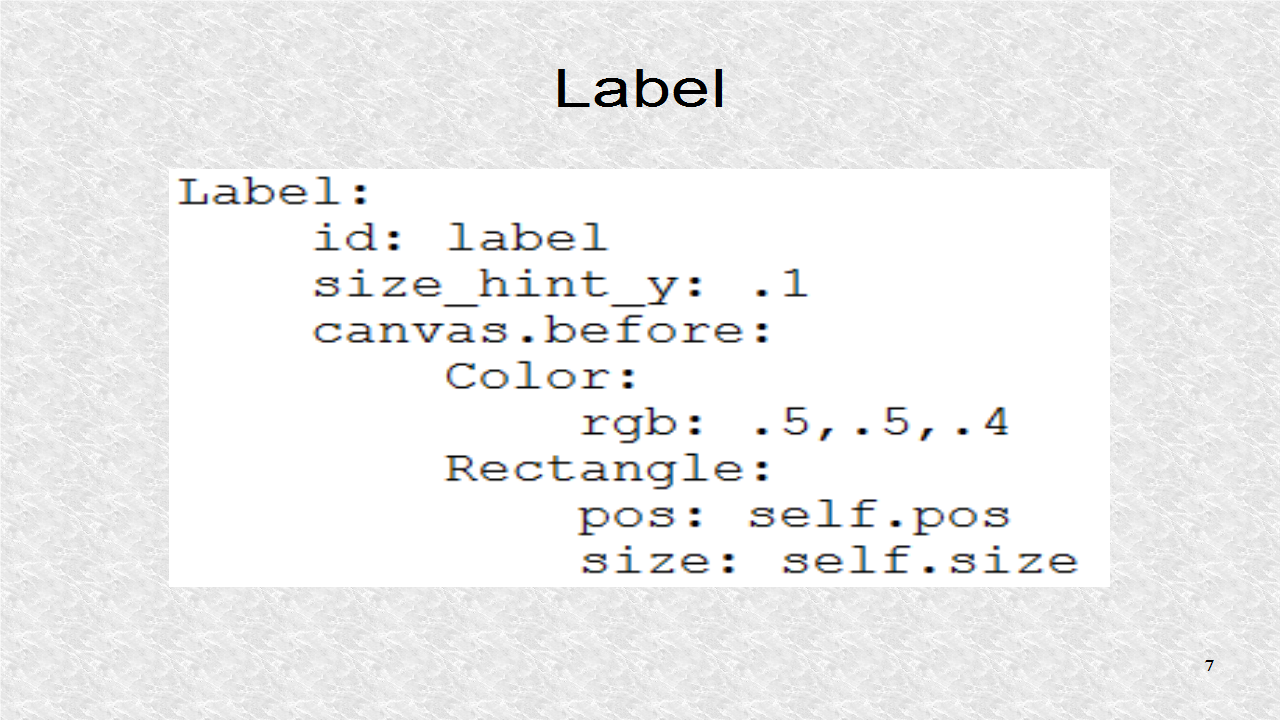
Label:
text: 'Circle: ' + str(app.Val['circle'])
pos: 0,400
size_hint: None,None
size: 100,100
Label:
text: 'Square: ' + str(app.Val['square'])
pos: 150,400
size_hint: None,None
size: 100,100
Label:
text: 'Up Triangle: ' + str(app.Val['up_triangle'])
pos: 300,400
size_hint: None,None
size: 100,100
Label:
text: 'Down Triangle: ' + str(app.Val['down_triangle'])
pos: 450,400
size_hint: None,None
size: 100,100
Label:
text: 'Size: ' + str(app.Val['pixels'])
pos: 200,200
size_hint: None,None
size: 100,100
Button:
text: 'Settings\n(F1)'
pos: 200,50
size_hint: None,None
size: 100,100
on_press: app.open_settings()
After opening the Settings, two shapes are selected and pixel is set to 100.

As we can see, the program indicates it has read the values.