A widget is selected by touch by transversing the list of children.
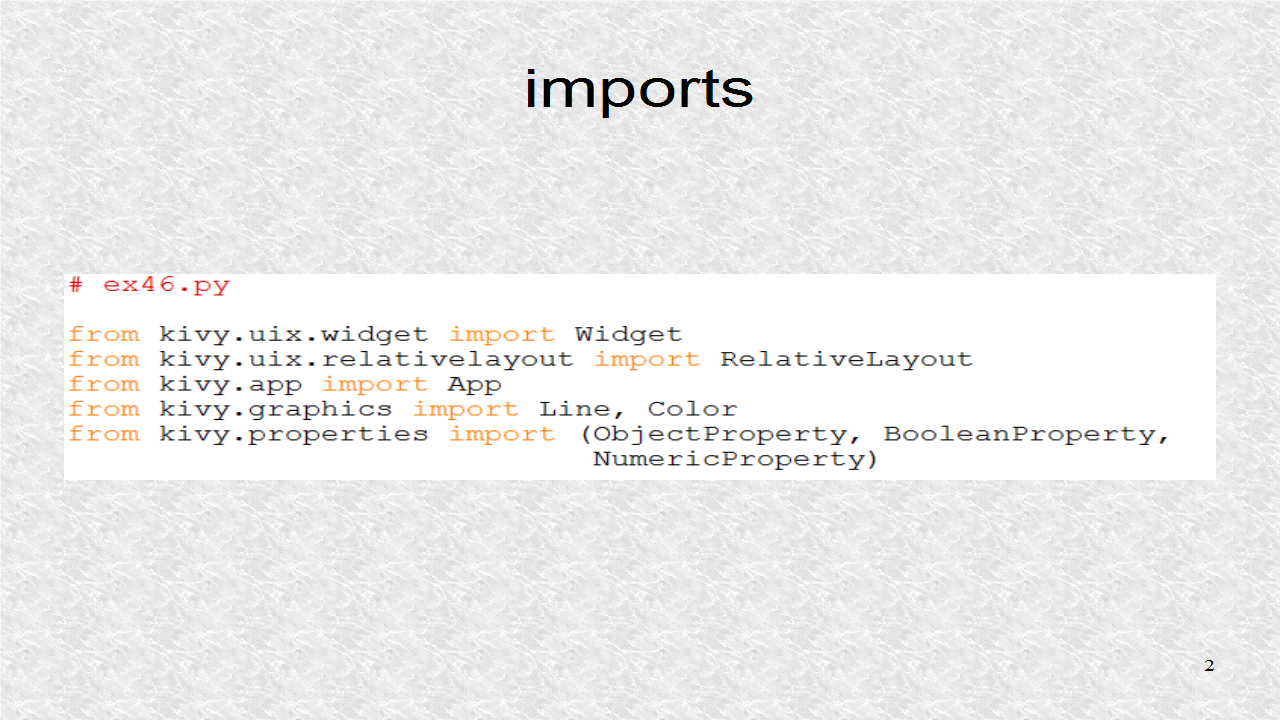
A ball shaped widget is drawn here. The root widget is based on RelativeLayout. Besides the App, we need two graphic classes, since we will be dynamically adding code to highlight the selected child. Three Kivy Properties are used. The ObjectProperty will be used to point to the selected child. In the BooleanProperty, we will hold the current state of whether a child has been selected. The Numeric Property will hold the counter indicating the number of Ball widgets that have been added.
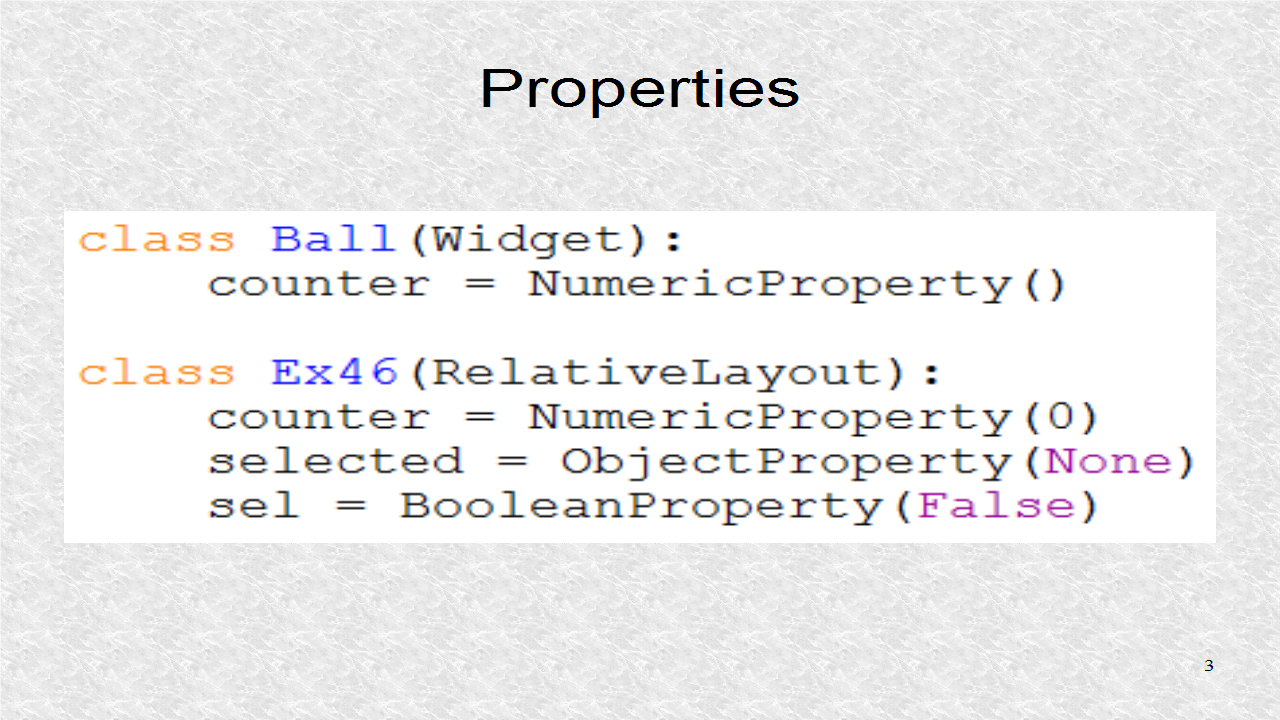
The Ball Widget holds only the counter NumericProperty. The root, based on RelativeLayout, also has a NumericProperty with that name. This does not create any problem, however, it clarifies that, they will, be the same number, most of the time. The variable selected is an ObjectProperty and will be used to point to the selected child. The BooleanProperty will indicate a child has been selected.
The on_touch_down function is run whenever a touch or click has been detected. We first test, if the touch coordinates, are inside the lower-left region, of size of, 100 by 100. This is where ToggleButtons will be placed by the kv file. The two toggle buttons will be 'Draw' and 'Select'. If the touch occurs over that place, we return to super, so the ToggleButtons can handle this event. Next, we test if the select ToggleButton is in the on (or 'down') state.
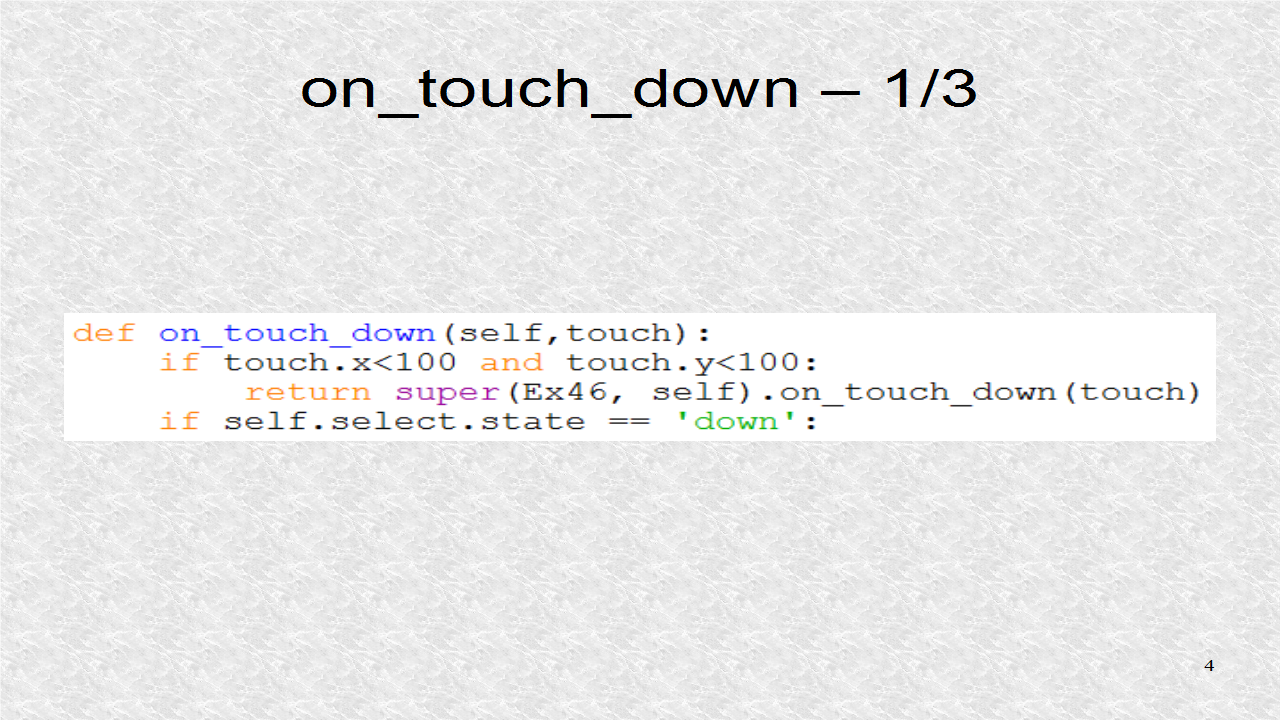
If the condition is true and we are in Select mode, we look at children list. Since the root is based on RelativeLayout, the children will include anything inside the RelativeLayout. This includes the 2 ToggleButtons and any Balls added. If a child's coordinates, include the touch coordinate, the selected ObjectProperty, points to this child and sel becomes True.
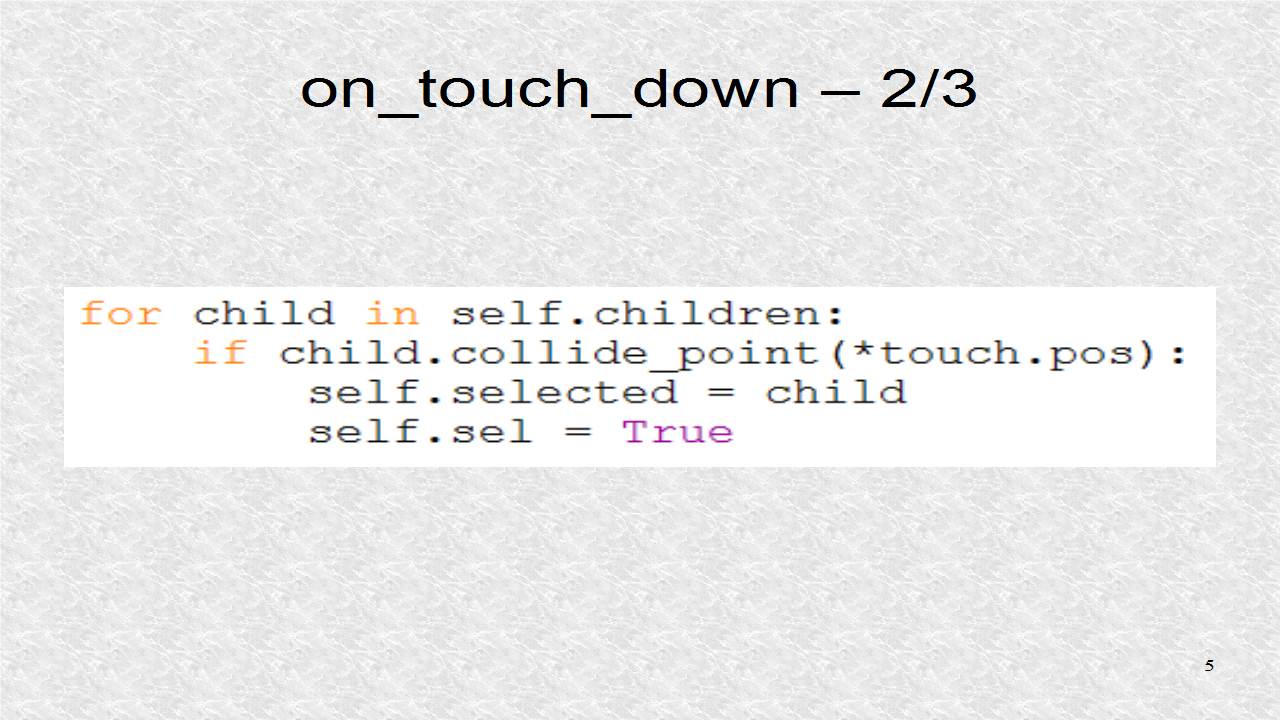
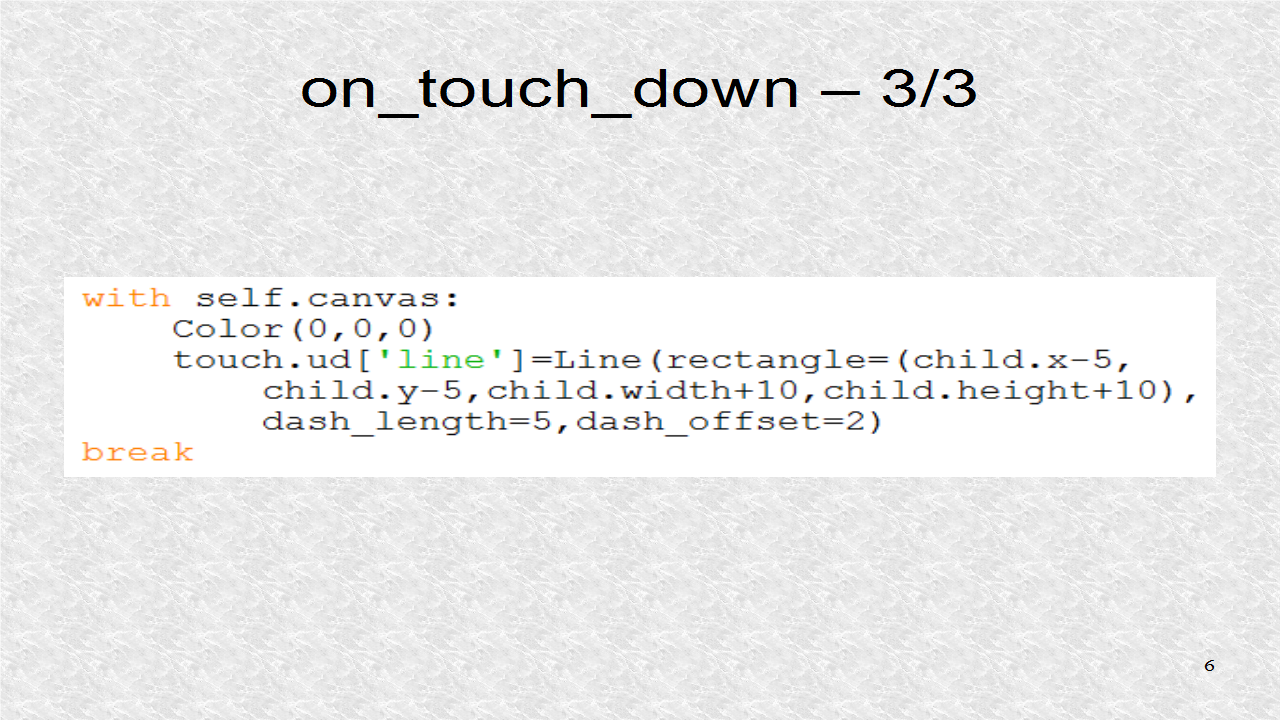
Next, there are drawing instructions. A black color is selected and then a dashed rectangle is drawn. We use the user data dictionary (ud) in the touch variable. After a child has been selected, we break out of the for loop.
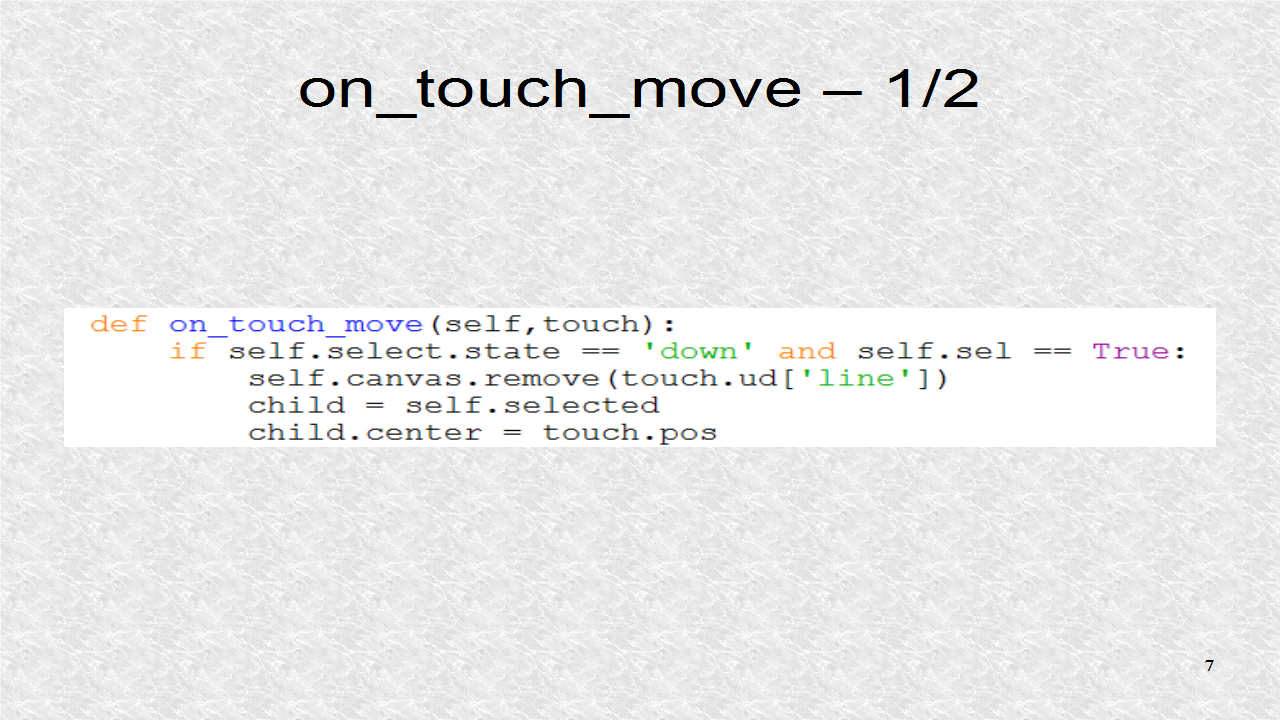
The on_touch_move will be called when there is dragging motion. First the select ToggleButton is checked, and also the sel variable. If so, the last selection rectangle is removed. Next, a local variable child is used to point to variable in selected. We change the child's center position to the touch position.
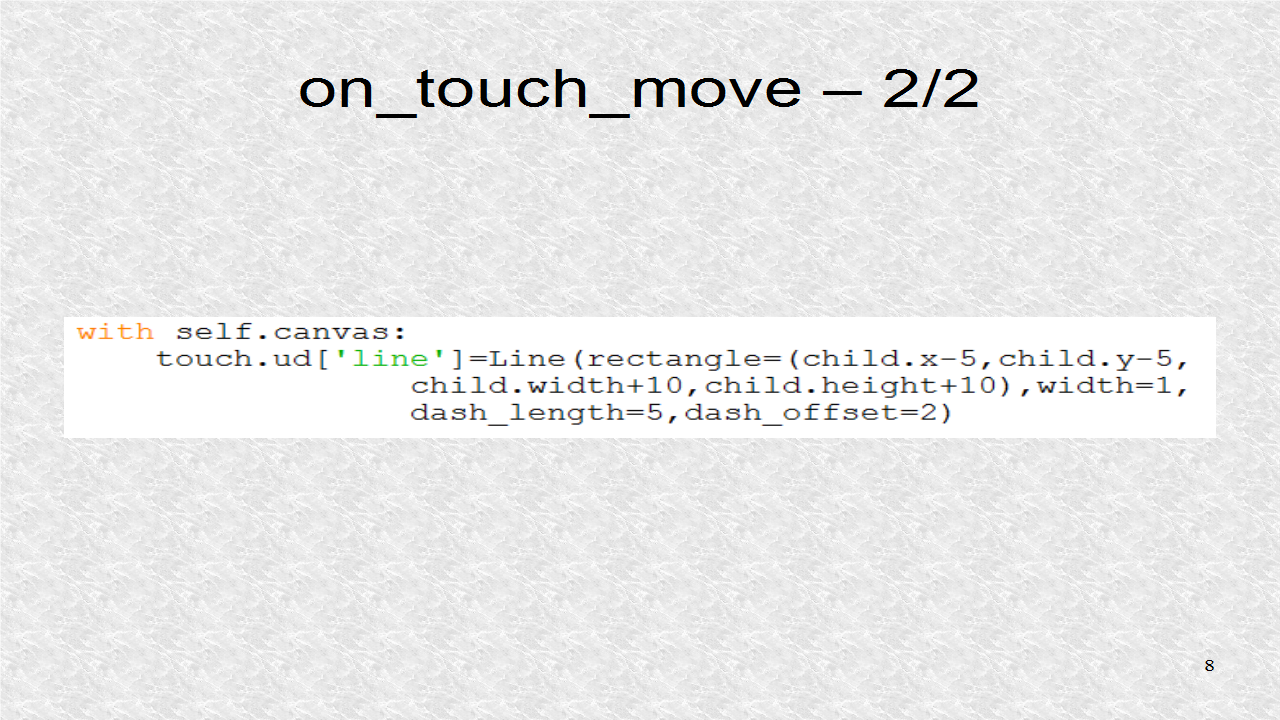
Next, a new selection rectangle is drawn. This one will be updated to reflect the new touch position.
Finally, once the dragging is finished, the on_touch_up function, is called. The if statement, checks if mode is Select, and the sel is true. If so the last select rectangle is removed, and now the sel becomes False. Next, if the coordinates are inside the ToggleButtons, we return.
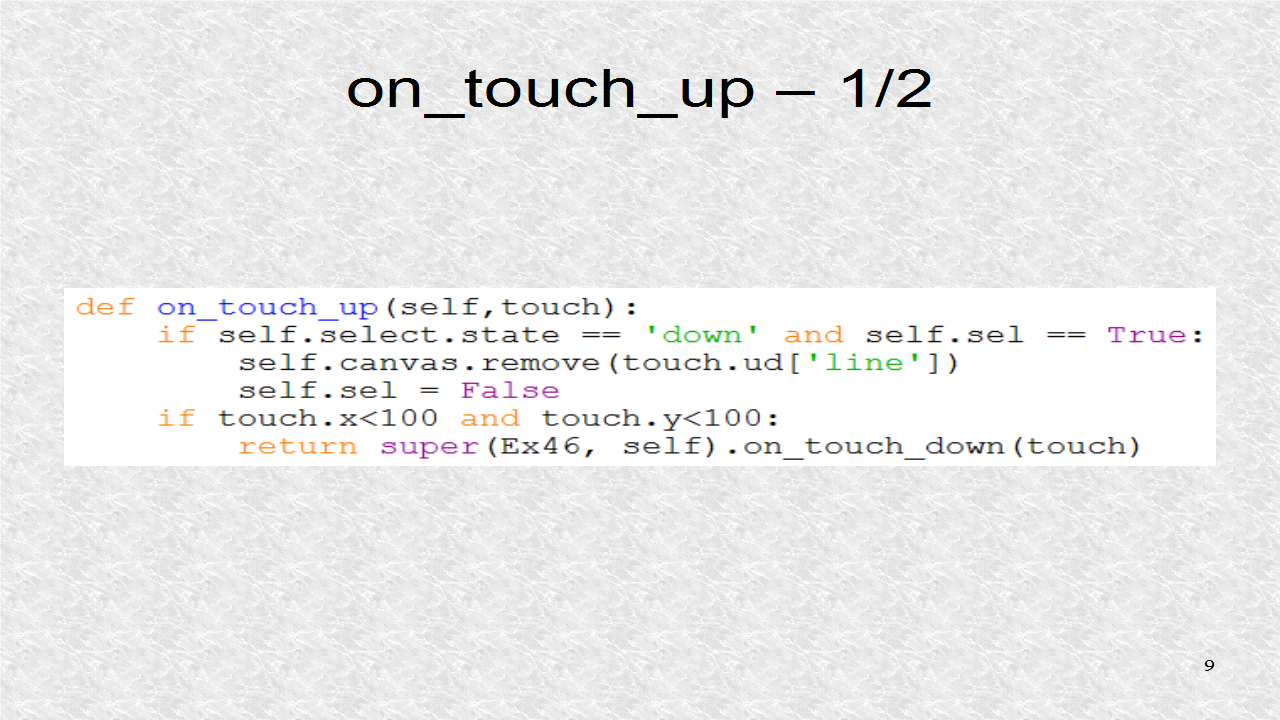
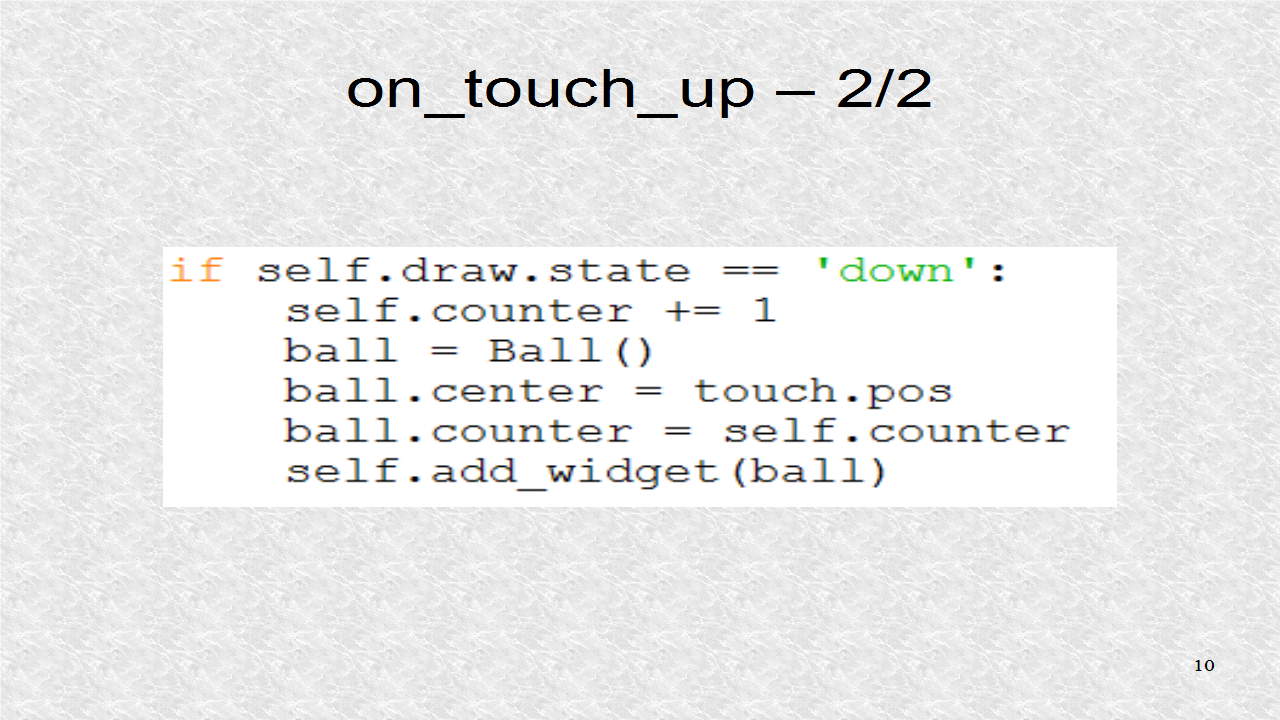
If the draw ToggleButton, is in the 'down' state, the counter is incremented and a new Ball Widget is created. The Ball's counter is updated as well. Finally, the widget is added to the Layout.
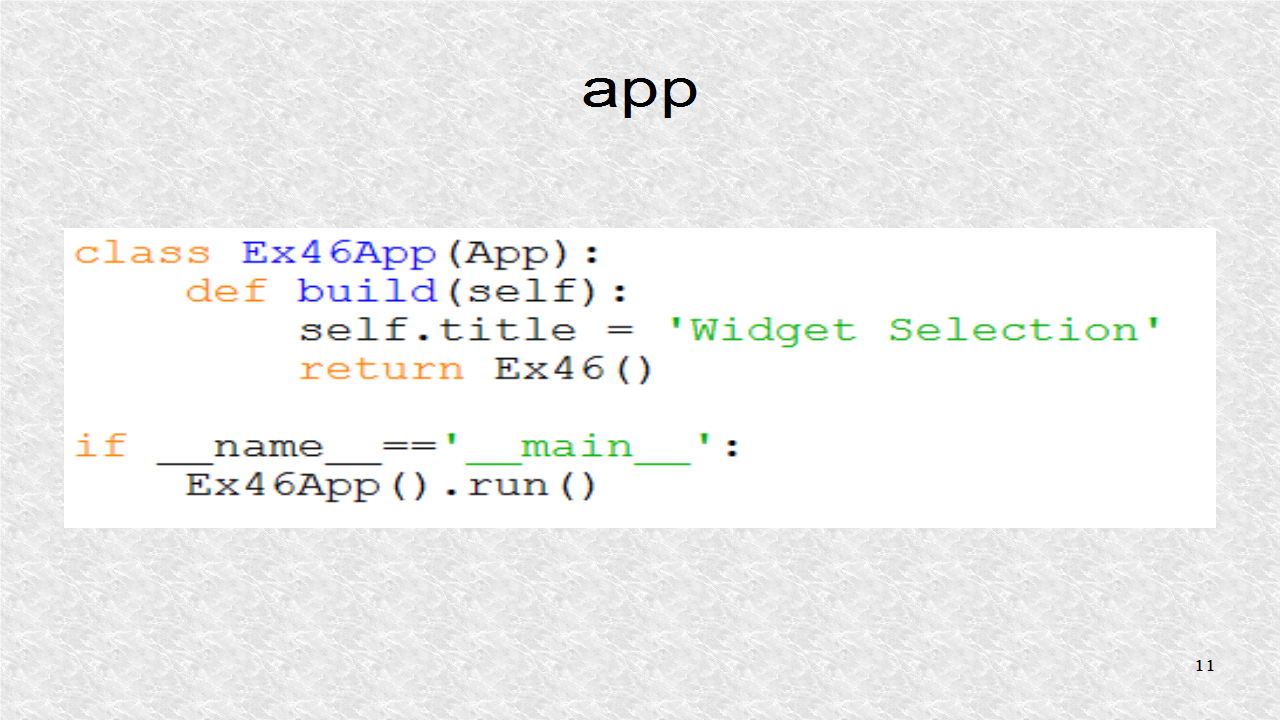
The app class must exist for the main file. The title of the main window is 'Widget Selection'.
# ex46.py

from kivy.uix.widget import Widget
from kivy.uix.relativelayout import RelativeLayout
from kivy.app import App
from kivy.graphics import Line, Color
from kivy.properties import (ObjectProperty, BooleanProperty,
                             NumericProperty)

class Ball(Widget):
    counter = NumericProperty()

class Ex46(RelativeLayout):
    counter = NumericProperty(0)
    selected = ObjectProperty(None)
    sel = BooleanProperty(False)

    def on_touch_down(self,touch):
        if touch.x<100 and touch.y<100:
            return super(Ex46, self).on_touch_down(touch)
        if self.select.state == 'down':
            for child in self.children:
                if child.collide_point(*touch.pos):
                    self.selected = child
                    self.sel = True
                    with self.canvas:
                        Color(0,0,0)
                        touch.ud['line']=Line(rectangle=(child.x-5,
                            child.y-5,child.width+10,child.height+10),
                            dash_length=5,dash_offset=2)
                    break

    def on_touch_move(self,touch):
        if self.select.state == 'down' and self.sel == True:
            self.canvas.remove(touch.ud['line'])
            child = self.selected
            child.center = touch.pos
            with self.canvas:
                touch.ud['line']=Line(rectangle=(child.x-5,child.y-5,
                             child.width+10,child.height+10),width=1,
                             dash_length=5,dash_offset=2)

    def on_touch_up(self,touch):
        if self.select.state == 'down' and self.sel == True:
            self.canvas.remove(touch.ud['line'])
            self.sel = False
        if touch.x<100 and touch.y<100:
            return super(Ex46, self).on_touch_down(touch)
        if self.draw.state == 'down':
            self.counter += 1
            ball = Ball()
            ball.center = touch.pos
            ball.counter = self.counter
            self.add_widget(ball)

class Ex46App(App):
    def build(self):
        self.title = 'Widget Selection'
        return Ex46()

if __name__=='__main__':
    Ex46App().run()
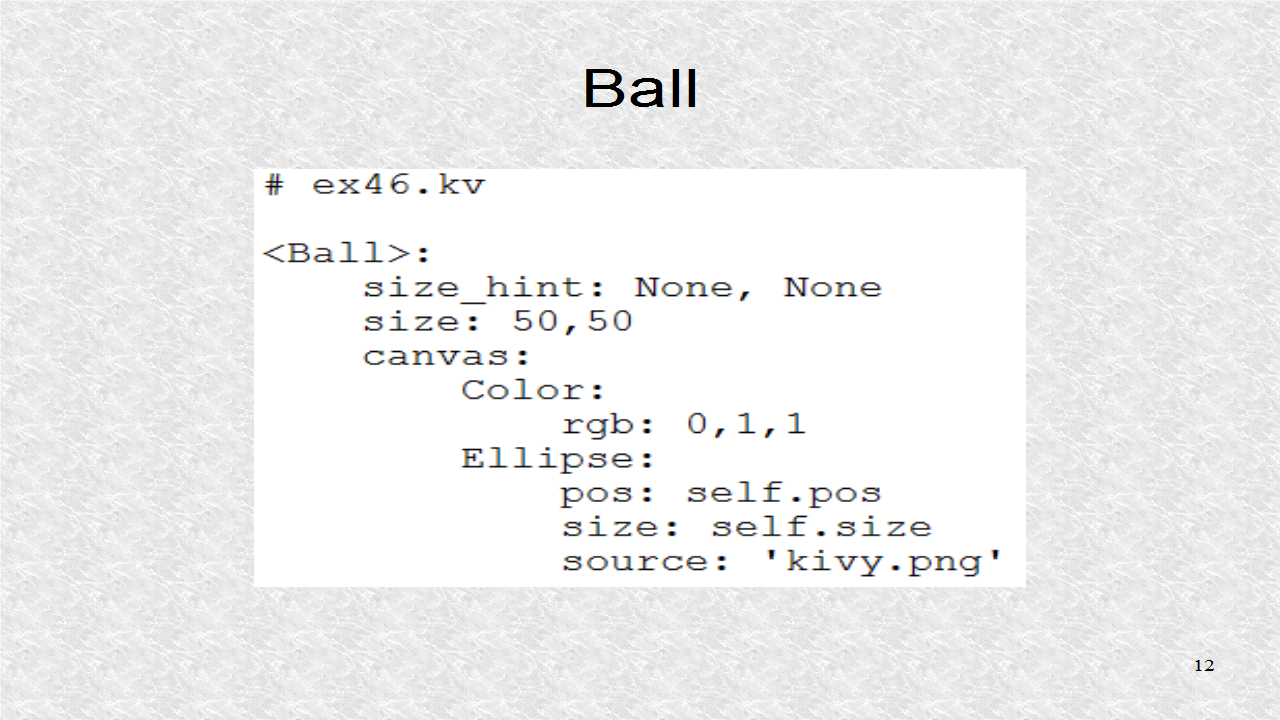
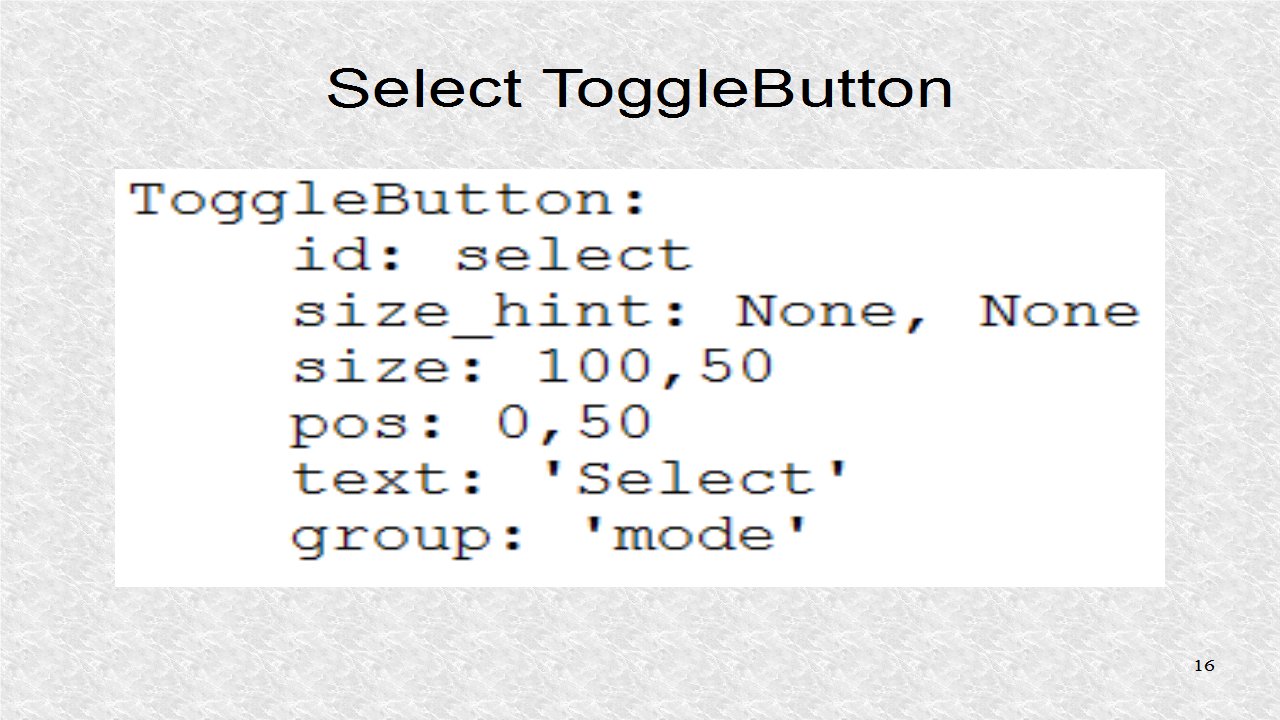
In the kv file, first we define the Ball, as 50 by 50 pixels and colored cyan with a background image of 'kivy.png'. We had used this image earlier.
On each Ball, we have a Label indicating the current counter number.
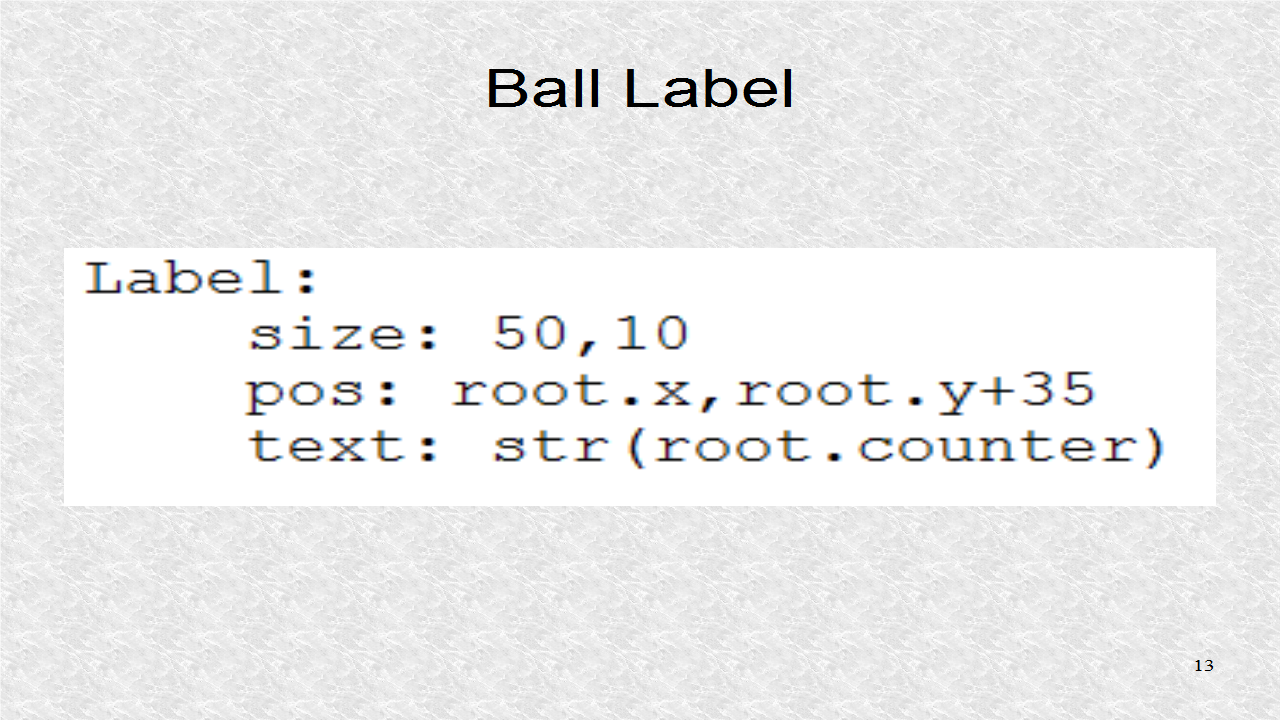
The background is green. The draw and select attributes are created. These point to the two ToggleButtons.
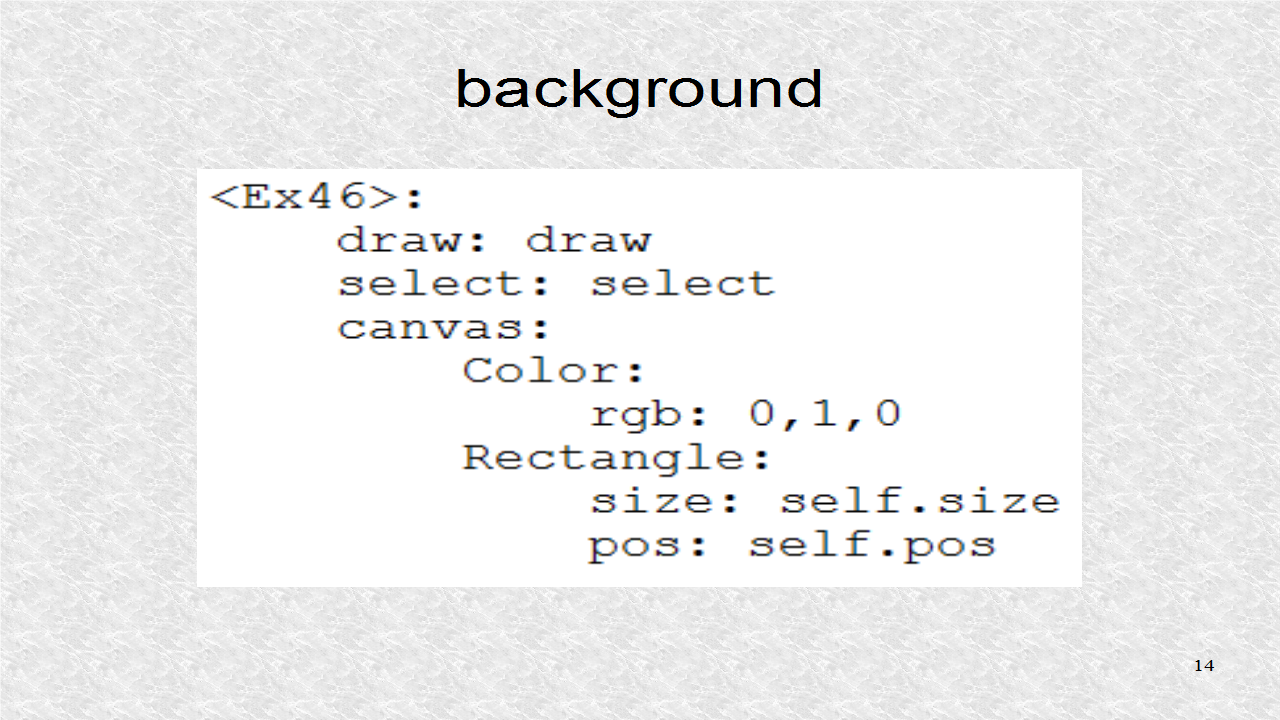
This is the first ToggleButton, for the 'Draw' mode. Its id is draw.
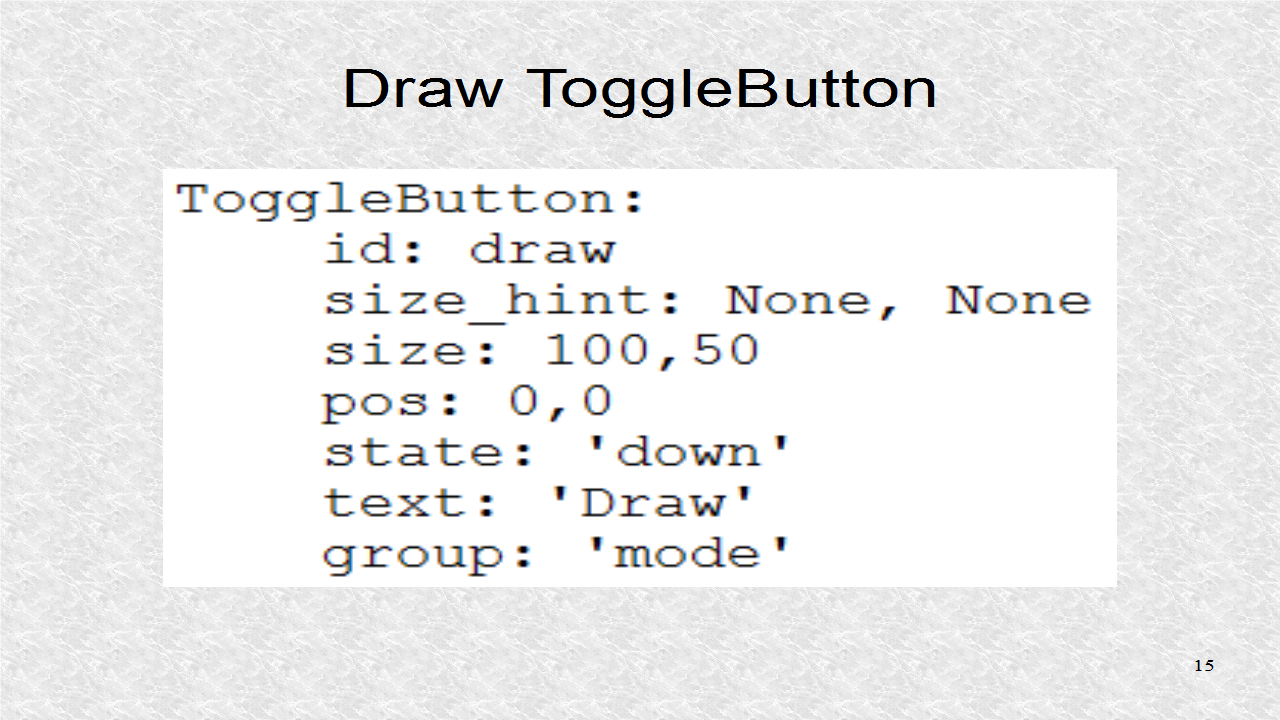
The other ToggleButton is for 'Select' and has the id 'select'. We had used these ids in the attribute definitions.
# ex46.kv

<Ball>:
    size_hint: None, None
    size: 50,50
    canvas:
        Color:
            rgb: 0,1,1
        Ellipse:
            pos: self.pos
            size: self.size
            source: 'kivy.png'
    Label:
        size: 50,10
        pos: root.x,root.y+35
        text: str(root.counter)

<Ex46>:
    draw: draw
    select: select
    canvas:
        Color:
            rgb: 0,1,0
        Rectangle:
            size: self.size
            pos: self.pos
    ToggleButton:
        id: draw
        size_hint: None, None
        size: 100,50
        pos: 0,0
        state: 'down'
        text: 'Draw'
        group: 'mode'
    ToggleButton:
        id: select
        size_hint: None, None
        size: 100,50
        pos: 0,50
        text: 'Select'
        group: 'mode'
Demo of App on Youtube.
Python:
ReplyDeleteGood Post! Thank you so much for sharing this pretty post, it was so good to read and useful to improve my knowledge as updated one, keep blogging.
https://www.emexotechnologies.com/online-courses/python-training-in-electronic-city/