Saturday, July 12, 2014

49. Using an Atlas

An atlas can be used, by putting atlas, pathname, and then the name without extension, where an image filename is required.


This is the first half of program to create Atlas, and the most important. The glob module is used which calls other modules. In the glob.glob, we write the filenames it should search for. These correspond to 26 letters of size 64 by 64 in Set 1. Besides the letters, the space character is inserted. The way to create space, is to open the included vector graphic in Inkspace or similar program and deleting the contents and exporting as 64 by 64 png. Then, the letters atlas is created using the create() function.
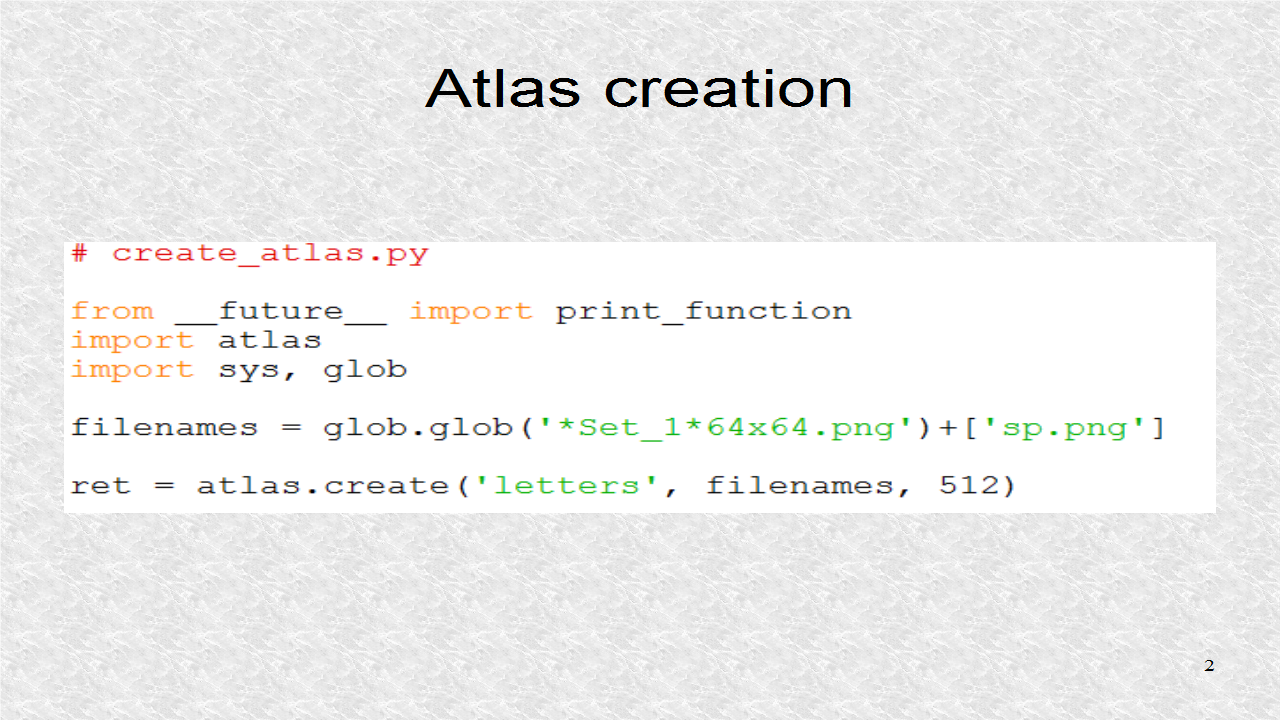

# create_atlas.py

from __future__ import print_function
import atlas
import sys, glob

filenames = glob.glob('*Set_1*64x64.png')+['sp.png']

ret = atlas.create('letters', filenames, 512)

if not ret:
    print('Error while creating atlas!')
    sys.exit(1)

fn, meta = ret
print('Atlas created at', fn)
print('%d image%s created' % (len(meta),
        's' if len(meta) > 1 else ''))


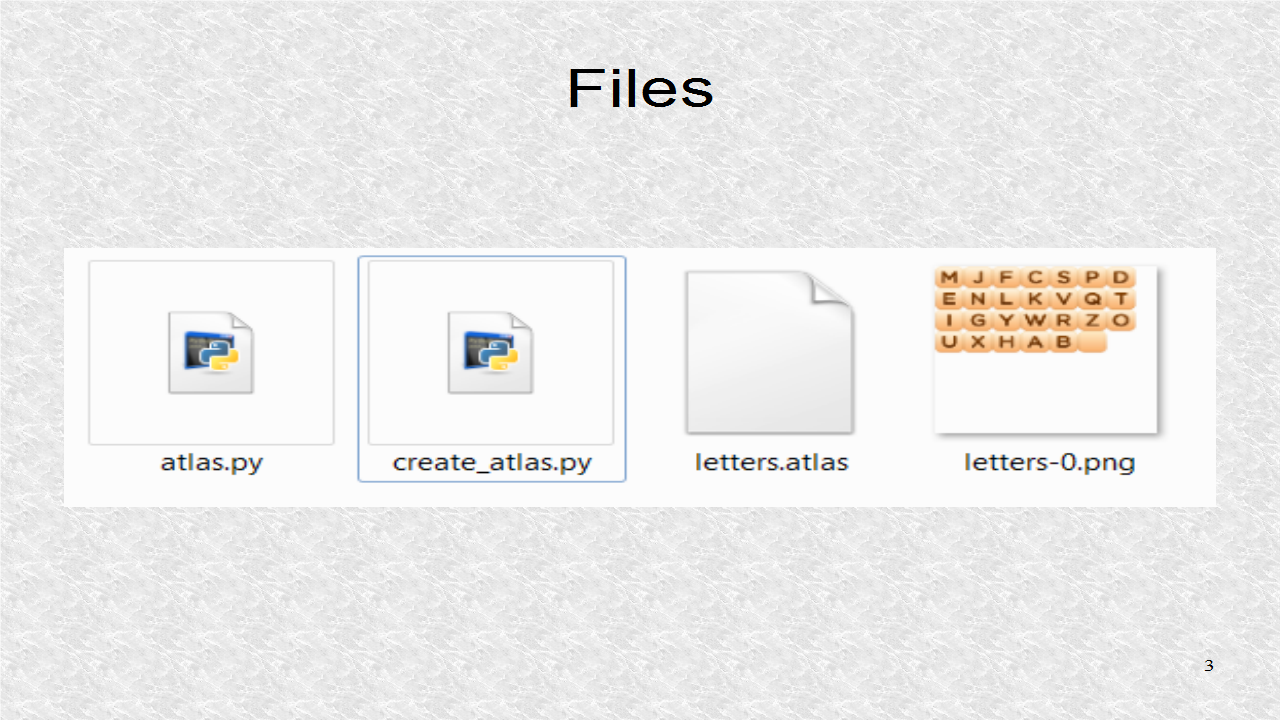
The last 2 files are the files created by create_atlas. The input images are not shown since they are not needed anymore.


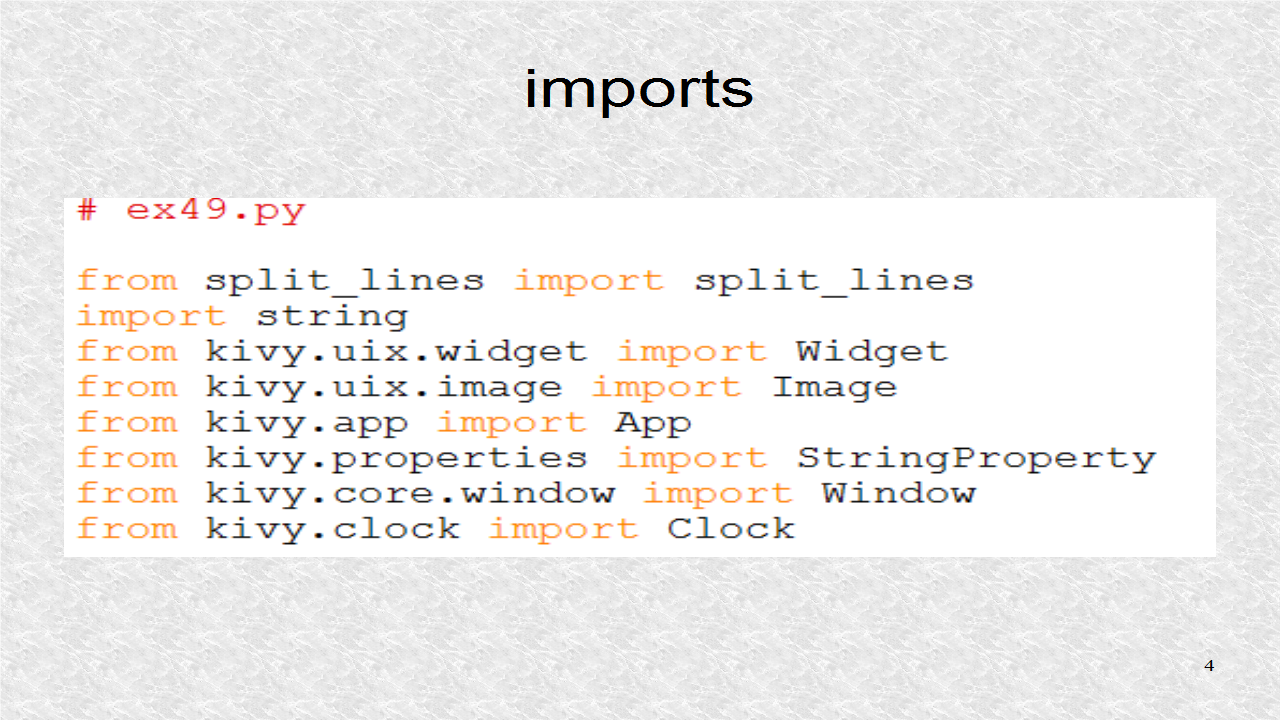
These are the imports. A module split_lines is needed to split a large string into many lines. An implementation is included on blogspot. The string standard library is included, so we can use the constants, like the 26 letters, rather than typing each. The other imports are similar to the previous Example.

# split_lines.py

from __future__ import print_function

def split_lines(S,I,J):
    'Split String S into 2J lines with each line 2I characters or less'
    Line=['']*2*J
    Strs=S.split(' ')
    stop = 0
    for i in range(2*J):
        start = stop
        try: Sp = len(Strs[start])
        except IndexError: break
        while (Sp<=2*I):
            stop = stop + 1
            try: Sp = Sp + 1 + len(Strs[stop])
            except IndexError: break
        Line[i] = ' '.join(Strs[start:stop])
    return Line
        

if __name__ == '__main__':
    I = 5
    J = 3
    S='1 2 3, 4 5 6. 7 8, 9: 10. 11 12 13 14 15 16g 17h 18i 19j'
    Line = split_lines(S,I,J)
    for i in range(len(Line)):
        print('Line[{}] = {}'.format(i,Line[i]))
        print('len = {}\n'.format(len(Line[i])))


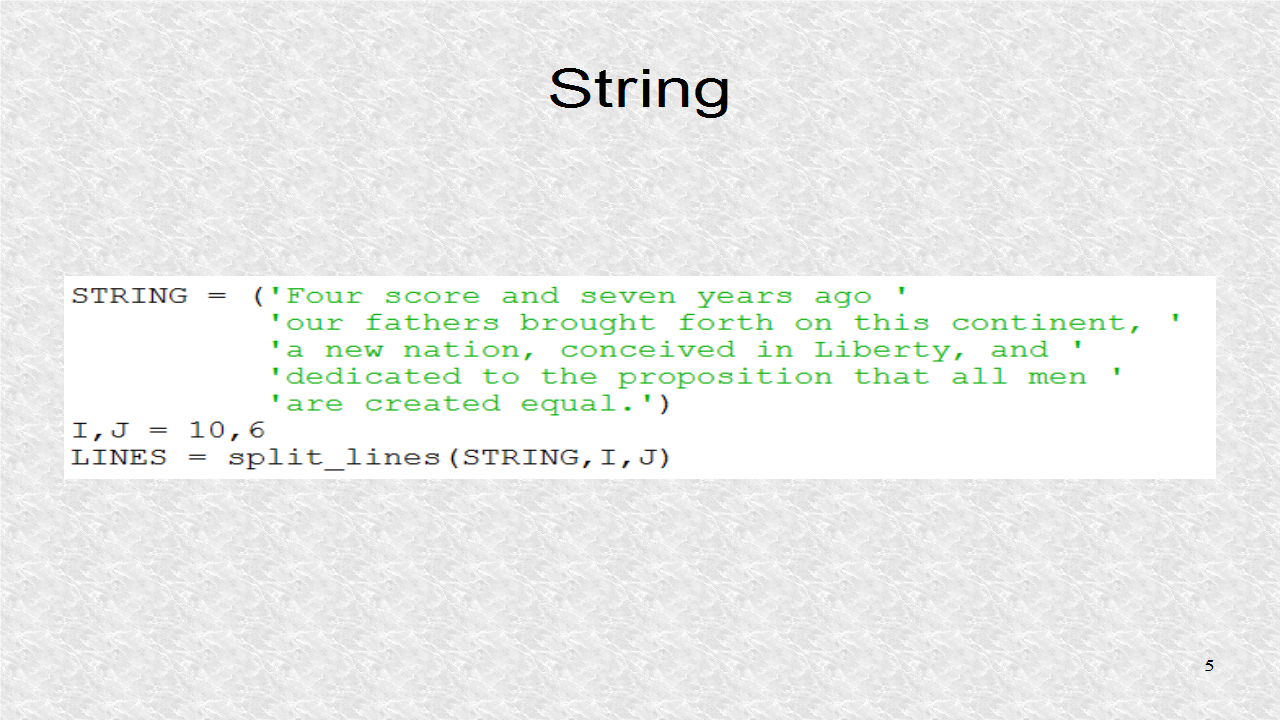
This is the string to output. Note, this is only one string, even though it is on many lines. Next, the constants, I and J, are defined. The number of maximum characters in a line is 2I. The maximum number of lines is 2J. It is possible the string will not fit into 2J lines, and thus, we will only see a partial string in the output. The split_lines module is used to create LINES which is a list of length 2J.


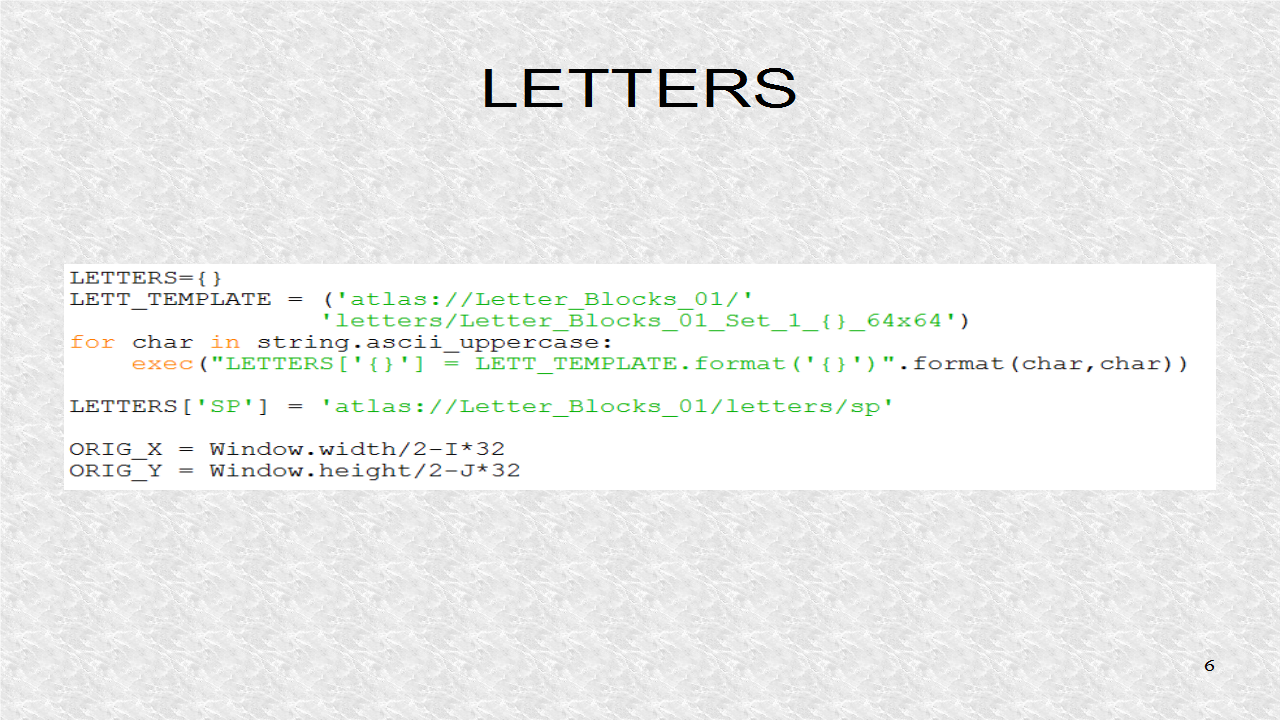
Next, we form the 27 image strings. These correspond to the 26 letters, and a space character. In the template, we start with atlas://, then the relative path, then the name without an extension. The coordinates, ORIG_X, and ORIG_Y, refer to the lower-left of the region where text will be displayed.


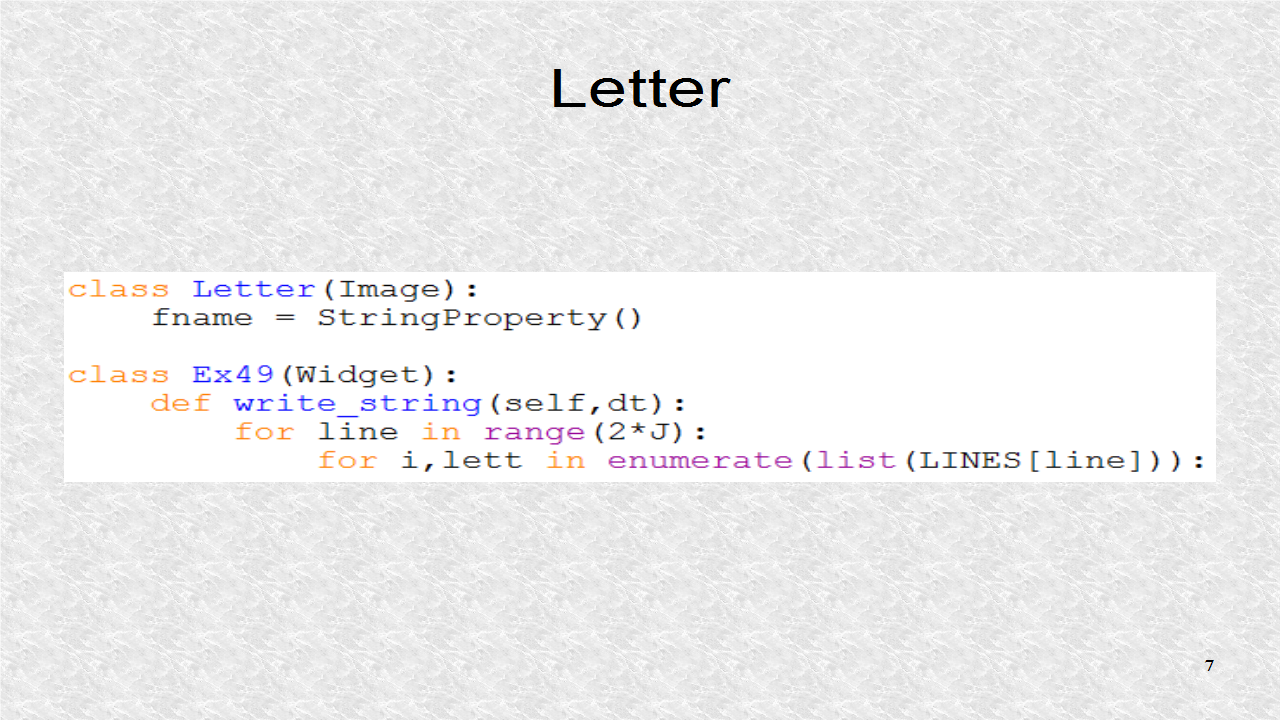
The Letter class has a StringProperty which will be used to hold the image string. Next, in the root there is only 1 function, write_string. It uses an integer variable to iterate over the 2J lines. Next for each line, we iterate over all the individual characters in the particular line.


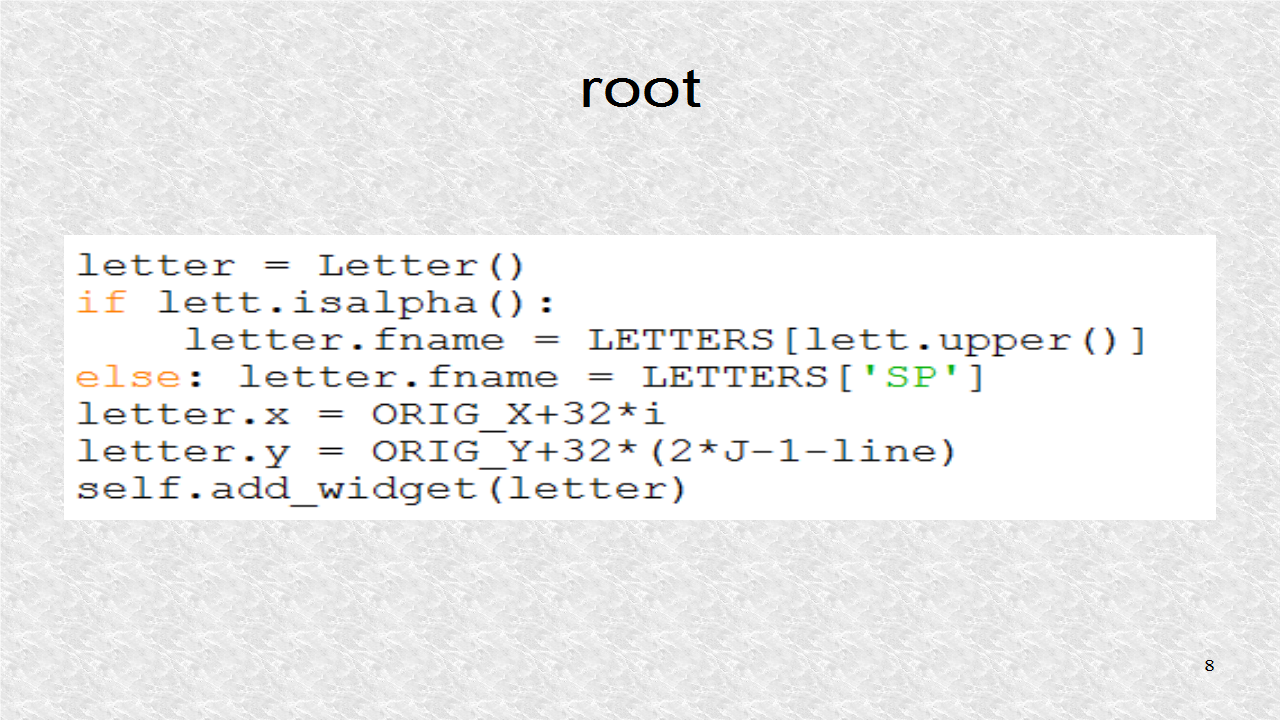
For each character in a line, we create a Letter instance. Then its StringProperty is set to a letter or space. Notice, if we have a comma or period it will be treated as a space. Then, the x and y positions of the Letter are set, as some offset from the ORIG_X and_ORIG Y coordinates. Finally the Letter instance is added to root widget.


In the app, we schedule the write_string function to take place in half a second.
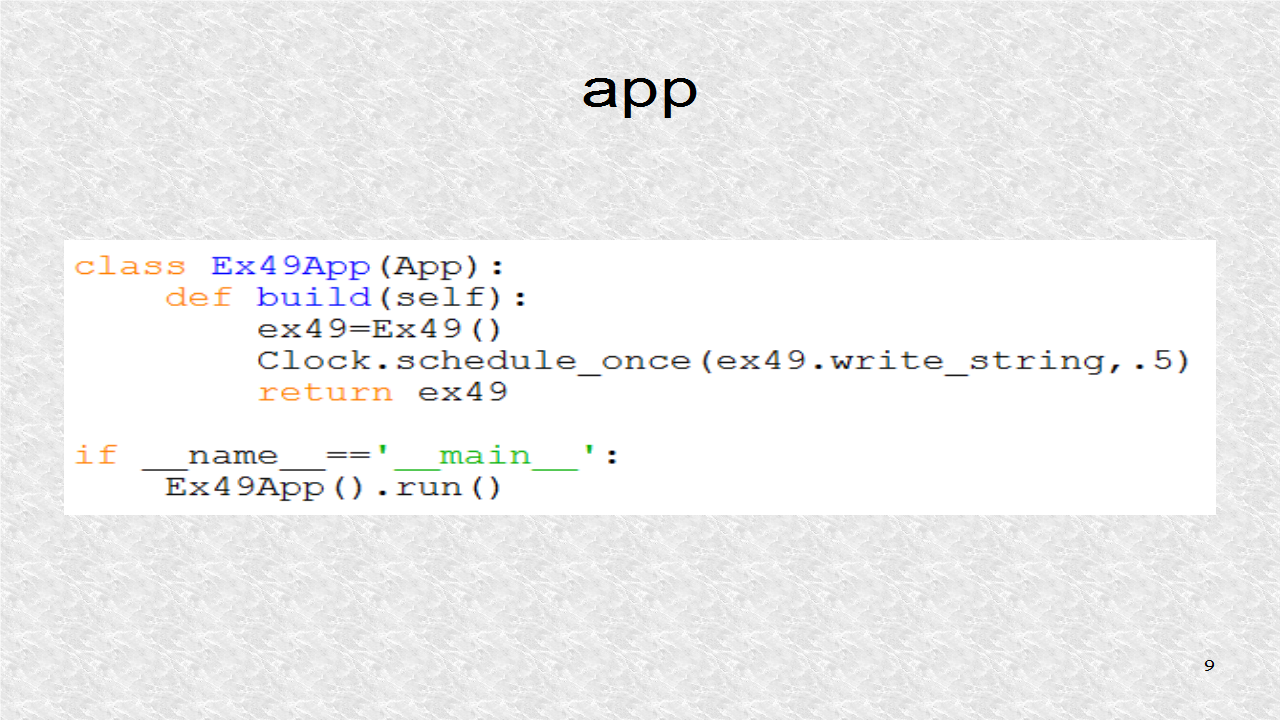

# ex49.py

from split_lines import split_lines
import string
from kivy.uix.widget import Widget
from kivy.uix.image import Image
from kivy.app import App
from kivy.properties import StringProperty
from kivy.core.window import Window
from kivy.clock import Clock

STRING = ('Four score and seven years ago '
          'our fathers brought forth on this continent, '
          'a new nation, conceived in Liberty, and '
          'dedicated to the proposition that all men '
          'are created equal.')
I,J = 10,6
LINES = split_lines(STRING,I,J)
LETTERS={}
LETT_TEMPLATE = ('atlas://Letter_Blocks_01/'
                'letters/Letter_Blocks_01_Set_1_{}_64x64')
for char in string.ascii_uppercase:
    exec("LETTERS['{}'] = LETT_TEMPLATE.format('{}')".format(char,char))

LETTERS['SP'] = 'atlas://Letter_Blocks_01/letters/sp'

ORIG_X = Window.width/2-I*32
ORIG_Y = Window.height/2-J*32

class Letter(Image):
    fname = StringProperty()

class Ex49(Widget):
    def write_string(self,dt):
        for line in range(2*J):
            for i,lett in enumerate(list(LINES[line])):
                letter = Letter()
                if lett.isalpha():
                    letter.fname = LETTERS[lett.upper()]
                else: letter.fname = LETTERS['SP']
                letter.x = ORIG_X+32*i
                letter.y = ORIG_Y+32*(2*J-1-line)
                self.add_widget(letter)
       
class Ex49App(App):
    def build(self):
        ex49=Ex49()
        Clock.schedule_once(ex49.write_string,.5)
        return ex49

if __name__=='__main__':
    Ex49App().run()


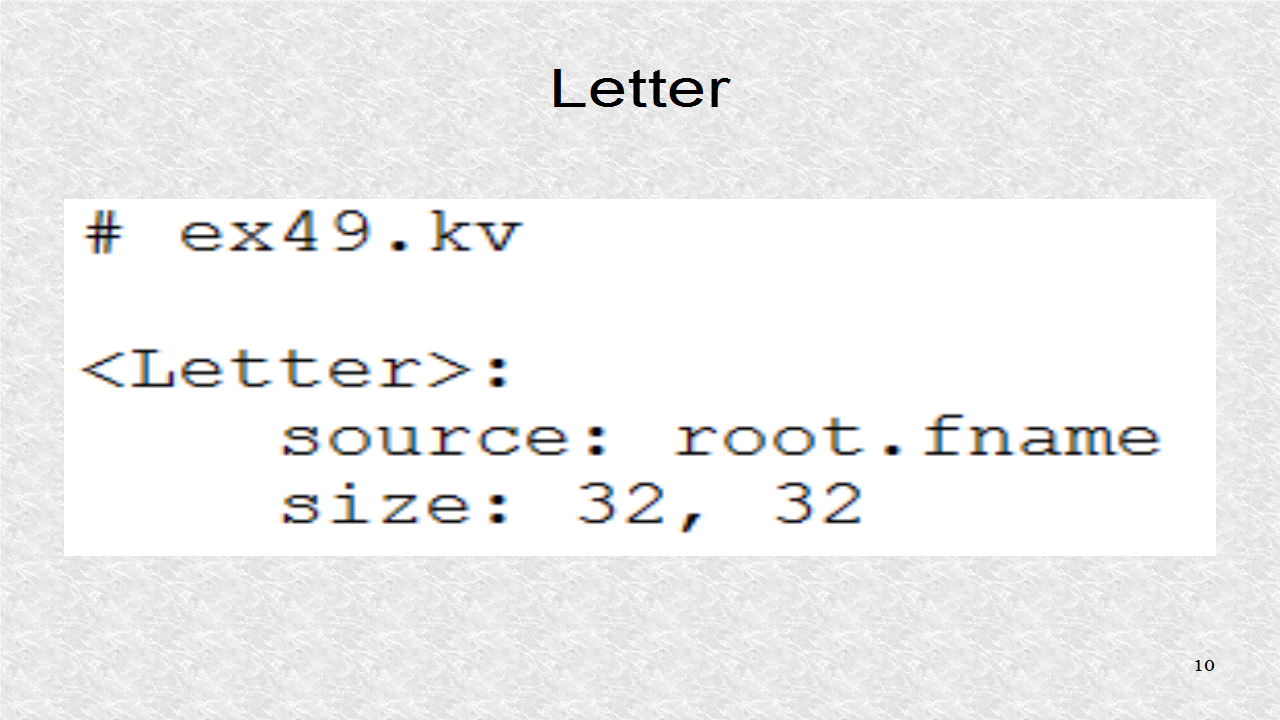
In the kv file, each letter source is set to image StringProperty. Also the size is set to 32 by 32. Since the image is 64 by 64, it is scaled by 50%.


Finally, we set a gray background color.
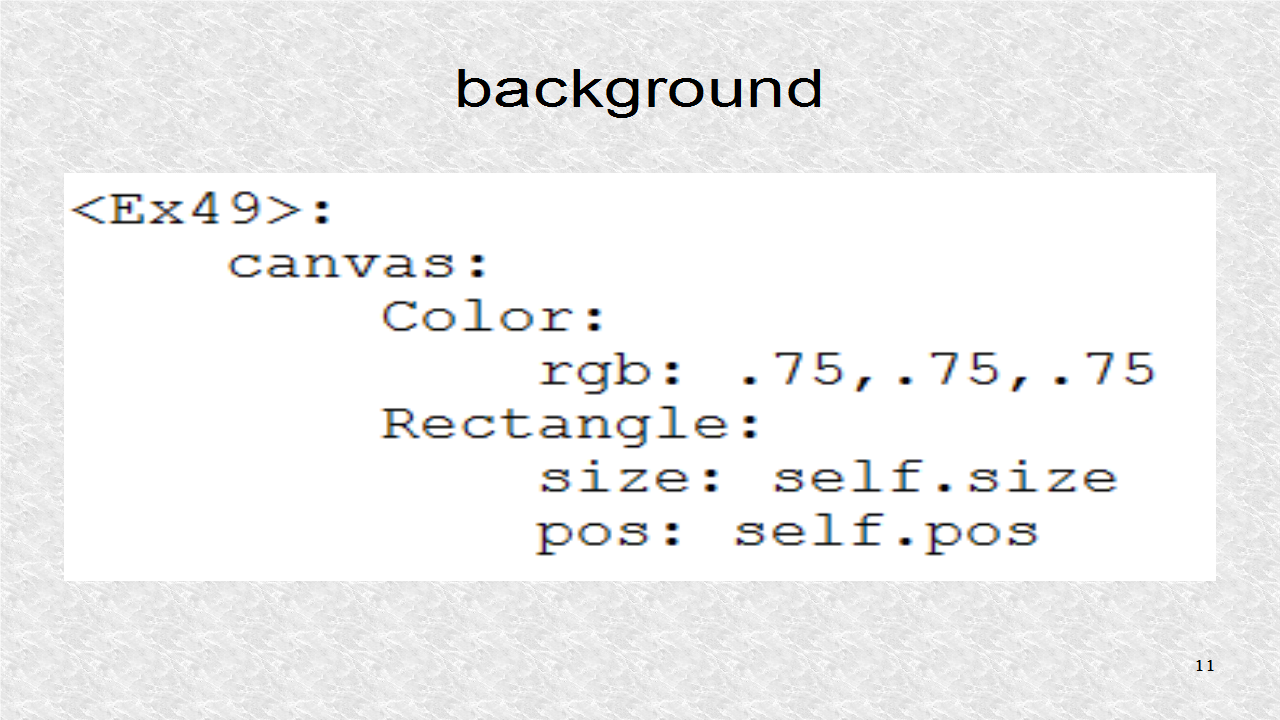

# ex49.kv

<Letter>:
    source: root.fname
    size: 32, 32
        
<Ex49>:
    canvas:
        Color:
            rgb: .75,.75,.75
        Rectangle:
            size: self.size
            pos: self.pos


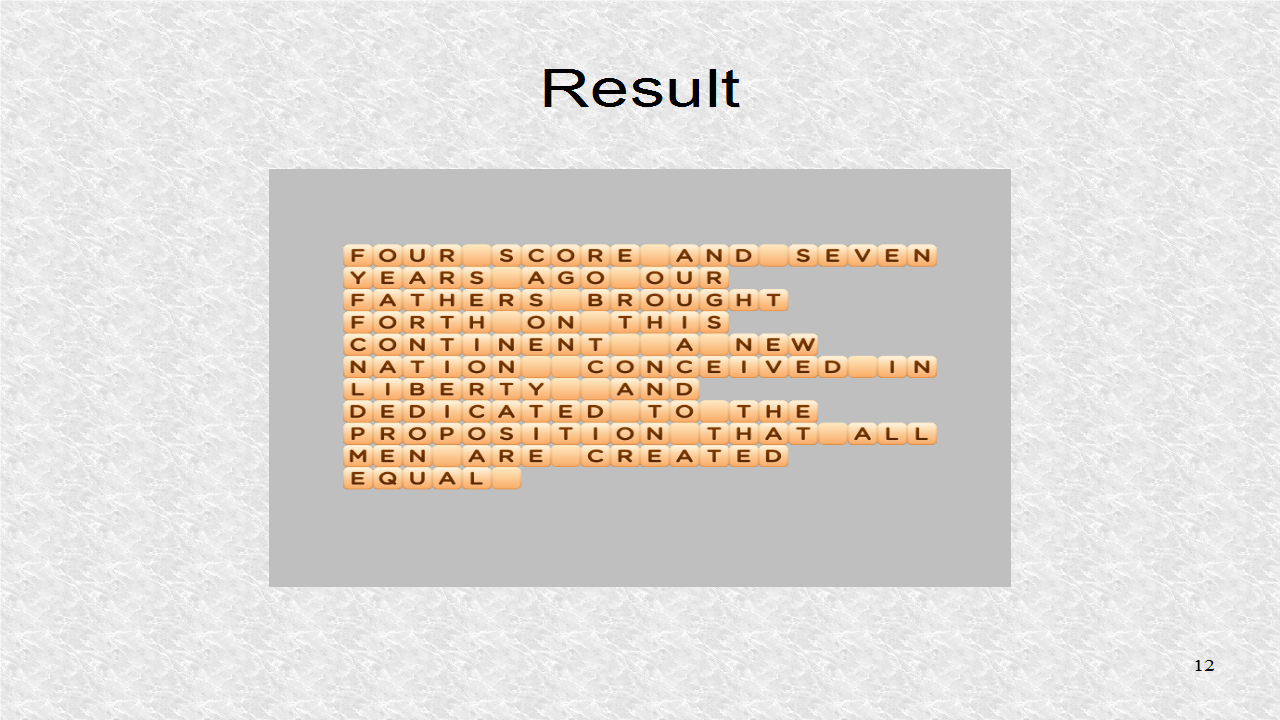
In this result, we can see the string has been written, over many lines. Also it can be seen, that the commas, and periods, are missing, and replaced with spaces. If we had the images of the two symbols, we can easily write more conditions.

Thursday, July 10, 2014

48. Creating an Atlas


We can create an atlas with many images.


This way we don't have to load a lot of small images. An atlas image will have a text file indicating the names of the individual images and their positions and sizes.


In Python 2.7 Kivy, there is a file called atlas.py. It can be used to create atlas files. The reason it is version 2.7 and not Python 3 versions is because of an old library, PIL, which stands for Python Imaging Library. The Kivy developers are correcting this, for future versions, so it does not depend on PIL.


Assuming you have installed both Python 2.7 and also PIL, the slightly modified file atlas.py file can be used, and which is on blogspot. You can have different python versions installed in your system. When Python 2.7 is installed, it will be installed to C:\\Python27. During the PIL setup, make sure it indicates the correct directory.


# atlas.py

import os, json
from os.path import basename, dirname, join, splitext
import Image


def create(outname, filenames, size, padding=2):
    if isinstance(size, (tuple, list)):
        size_w, size_h = map(int, size)
    else:
        size_w = size_h = int(size)

    # open all of the images
    ims = [(f, Image.open(f)) for f in filenames]

    # sort by image area
    ims = sorted(ims, key=lambda im: im[1].size[0] * im[1].size[1],
                 reverse=True)

    # free boxes are empty space in our output image set
    # the freebox tuple format is: outidx, x, y, w, h
    freeboxes = [(0, 0, 0, size_w, size_h)]
    numoutimages = 1

    # full boxes are areas where we have placed images in the atlas
    # the full box tuple format is: image, outidx, x, y, w, h, filename
    fullboxes = []

    # do the actual atlasing by sticking the largest images we can
    # have into the smallest valid free boxes
    for imageinfo in ims:
        im = imageinfo[1]
        imw, imh = im.size
        imw += padding
        imh += padding
        if imw > size_w or imh > size_h:
            print(
                'Atlas: image %s is larger than the atlas size!' %
                imageinfo[0])
            return

        inserted = False
        while not inserted:
            for idx, fb in enumerate(freeboxes):
                # find the smallest free box that will contain this image
                if fb[3] >= imw and fb[4] >= imh:
                    # we found a valid spot! Remove the current
                    # freebox, and split the leftover space into (up to)
                    # two new freeboxes
                    del freeboxes[idx]
                    if fb[3] > imw:
                        freeboxes.append((
                            fb[0], fb[1] + imw, fb[2],
                            fb[3] - imw, imh))

                    if fb[4] > imh:
                        freeboxes.append((
                            fb[0], fb[1], fb[2] + imh,
                            fb[3], fb[4] - imh))

                    # keep this sorted!
                    freeboxes = sorted(freeboxes,
                                       key=lambda fb: fb[3] * fb[4])
                    fullboxes.append((im,
                                      fb[0], fb[1] + padding,
                                      fb[2] + padding, imw - padding,
                                      imh - padding, imageinfo[0]))
                    inserted = True
                    break

            if not inserted:
                # oh crap - there isn't room in any of our free
                # boxes, so we have to add a new output image
                freeboxes.append((numoutimages, 0, 0, size_w, size_h))
                numoutimages += 1

    # now that we've figured out where everything goes, make the output
    # images and blit the source images to the approriate locations
    print('Atlas: create an {0}x{1} rgba image'.format(size_w,
                                                             size_h))
    outimages = [Image.new('RGBA', (size_w, size_h))
                 for i in range(0, int(numoutimages))]
    for fb in fullboxes:
        x, y = fb[2], fb[3]
        out = outimages[fb[1]]
        out.paste(fb[0], (fb[2], fb[3]))
        w, h = fb[0].size
        if padding > 1:
            out.paste(fb[0].crop((0, 0, w, 1)), (x, y - 1))
            out.paste(fb[0].crop((0, h - 1, w, h)), (x, y + h))
            out.paste(fb[0].crop((0, 0, 1, h)), (x - 1, y))
            out.paste(fb[0].crop((w - 1, 0, w, h)), (x + w, y))

    # save the output images
    for idx, outimage in enumerate(outimages):
        outimage.save('%s-%d.png' % (outname, idx))

    # write out an json file that says where everything ended up
    meta = {}
    for fb in fullboxes:
        fn = '%s-%d.png' % (basename(outname), fb[1])
        if fn not in meta:
            d = meta[fn] = {}
        else:
            d = meta[fn]

        # fb[6] contain the filename
        # for example, '../data/tiles/green_grass.png'
        # just get only 'green_grass' as the uniq id.
        uid = splitext(basename(fb[6]))[0]

        x, y, w, h = fb[2:6]
        d[uid] = x, size_h - y - h, w, h

    outfn = '%s.atlas' % outname
    with open(outfn, 'w') as fd:
        json.dump(meta, fd)

    return outfn, meta


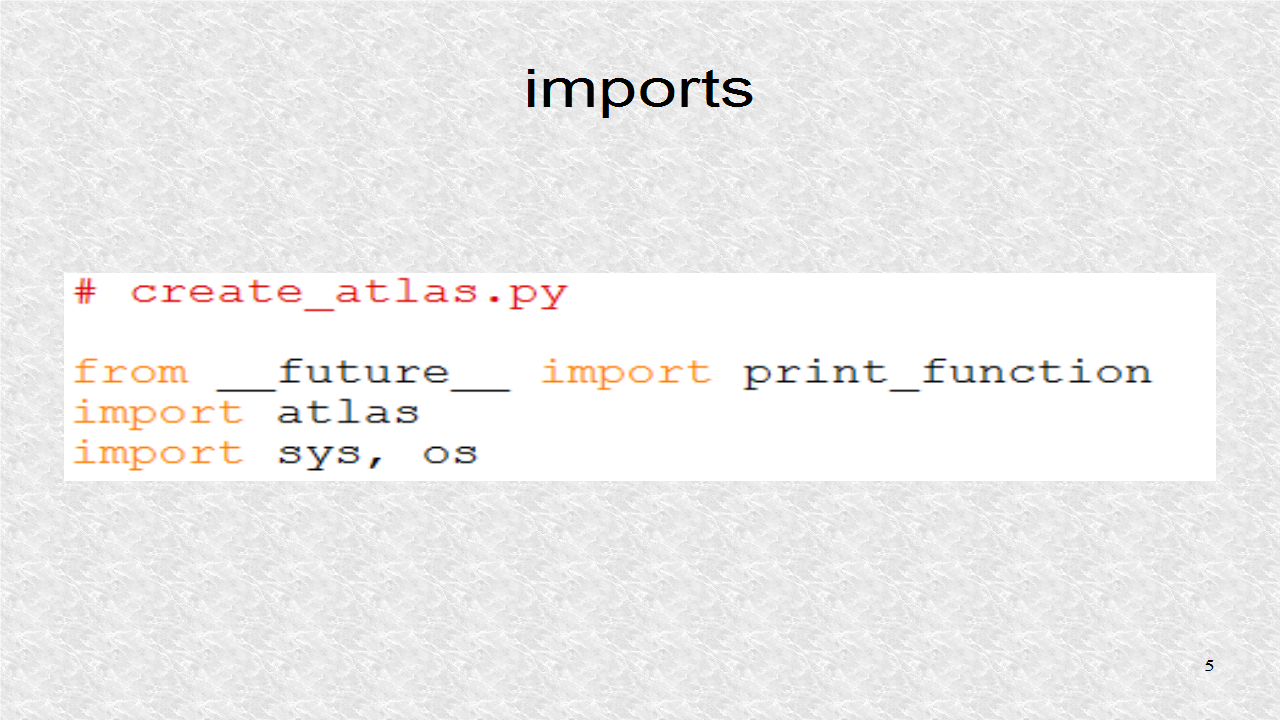
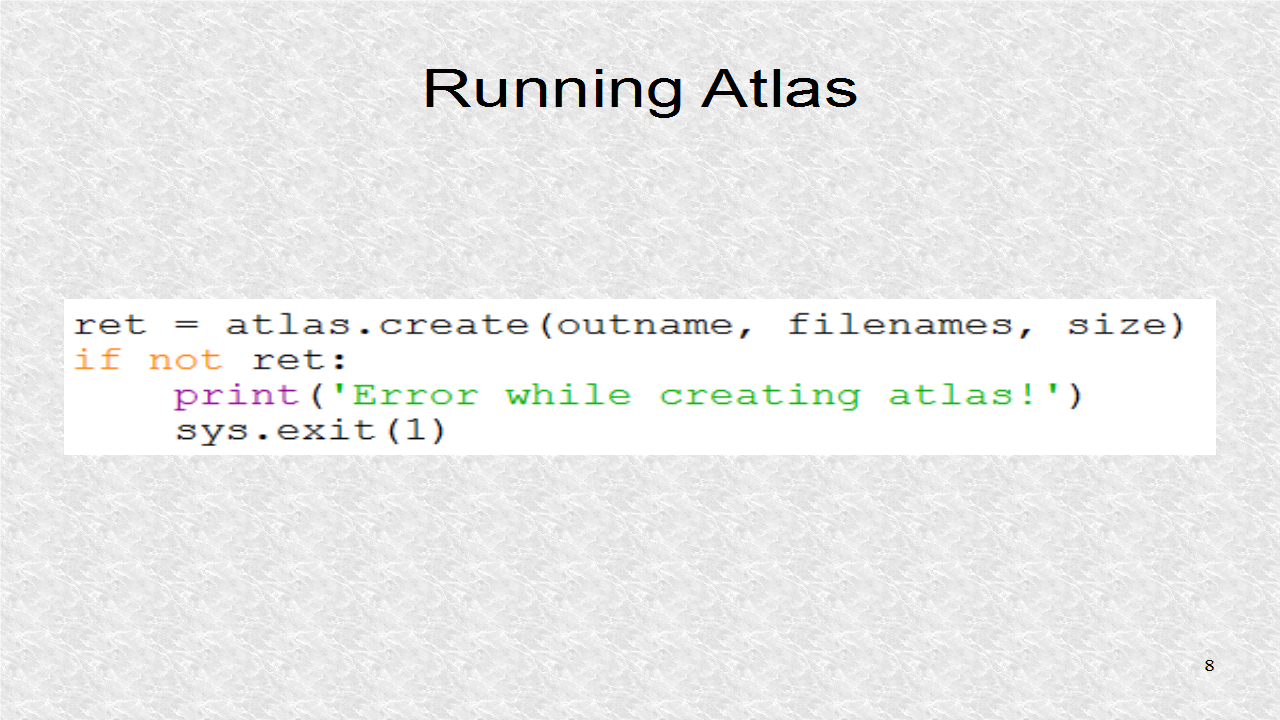
A file, create_atlas.py, uses the file atlas.py to create atlases. These are the imports. The __future__ import is only for the print statements. Beside atlas.py module, the sys and os modules are needed, for system and operating system functions.


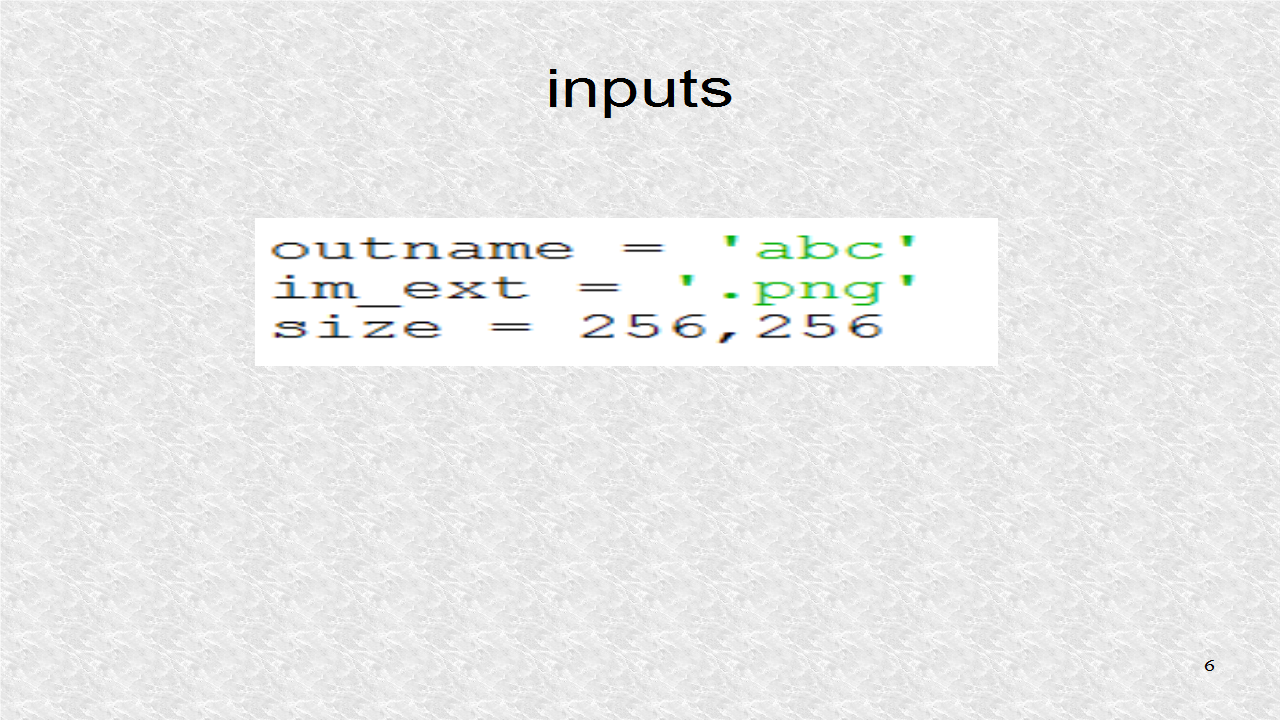
We require 3 parameters, in this python program. The outname indicates the name, of the atlas file. The variable im_ext, indicates what kind of image files, we have. Finally the size, indicates the size, of the resulting image files. Here, you could also have put in 256, and that would be understood to be 256, 256.


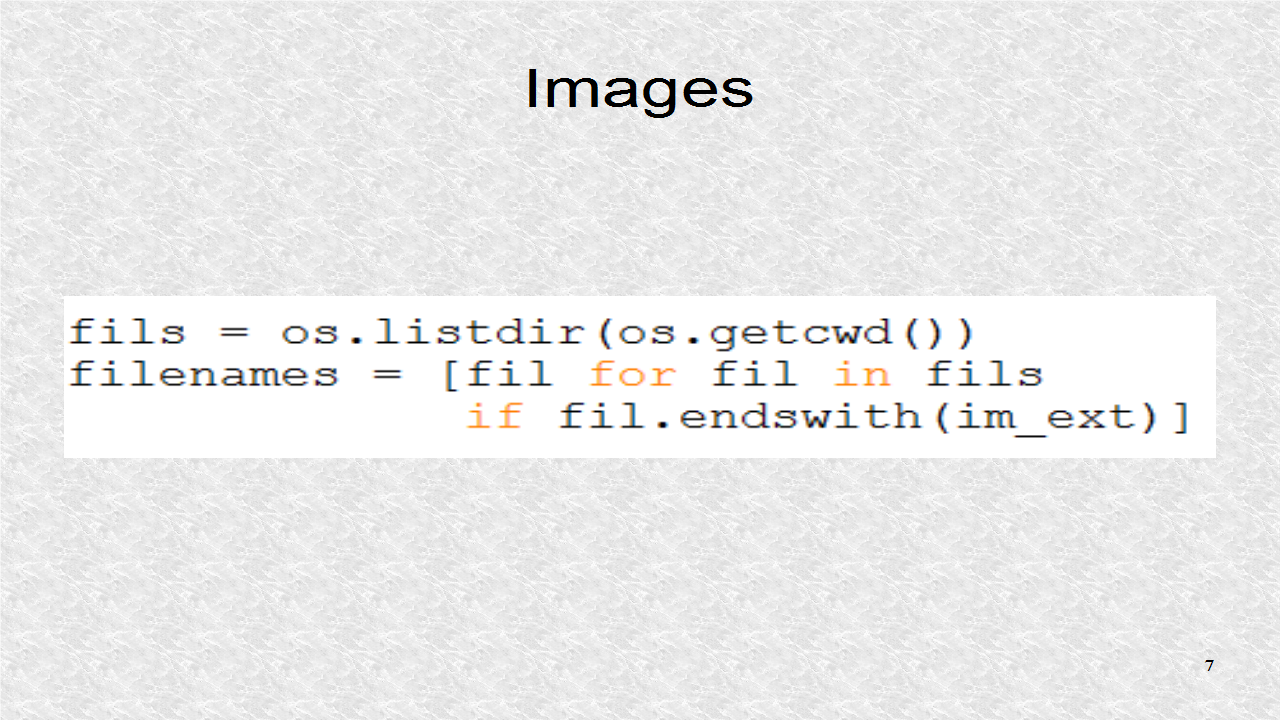
In the list fils, we have the names of all the files in current directory. This will include both image and non-image files. Next in filenames, only the elements that are actually images, with correct extension, are retained.


The only function, in the modified atlas module, is create() and, which requires 3 parameters. The default padding, which is 2 pixels, between images was used.


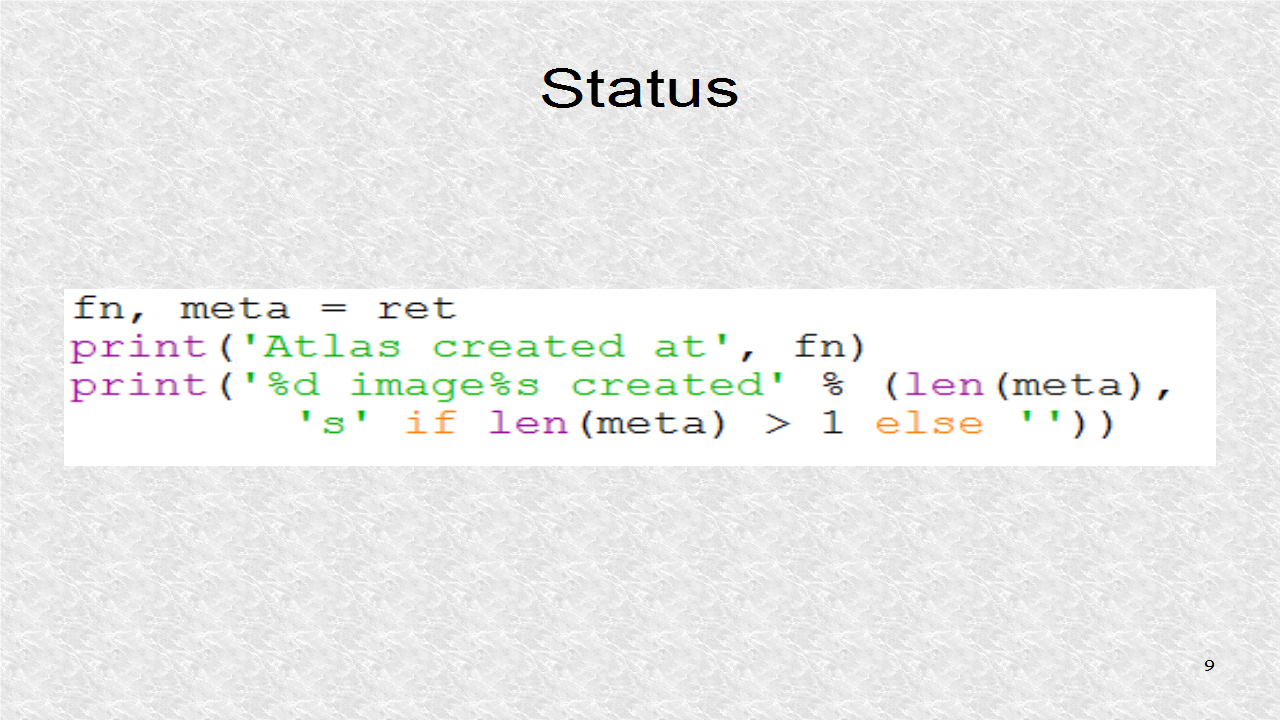
Finally, there are printouts, indicating the name of the main atlas file, which is the text file in json format. It also indicates how many images are in the atlas. If the size is large enough, it should be only 1 file.


# create_atlas.py

from __future__ import print_function
import atlas
import sys, os

outname = 'abc'
im_ext = '.png'
size = 256, 256

fils = os.listdir(os.getcwd())
filenames = [fil for fil in fils
             if fil.endswith(im_ext)]

ret = atlas.create(outname, filenames, size)
if not ret:
    print('Error while creating atlas!')
    sys.exit(1)

fn, meta = ret
print('Atlas created at', fn)
print('%d image%s created' % (len(meta),
        's' if len(meta) > 1 else ''))


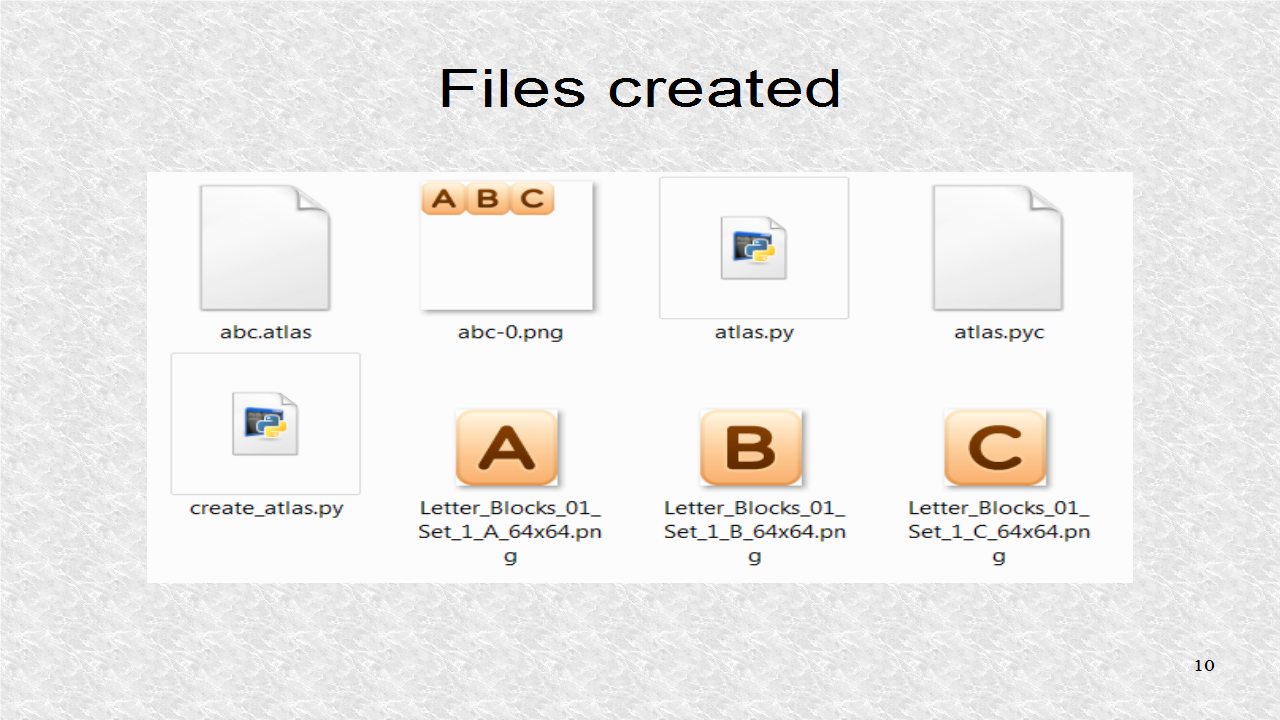
Here, we can see the text file, abc.atlas has been created, as well as the image file, abc-0.png. This image contains the original three images.


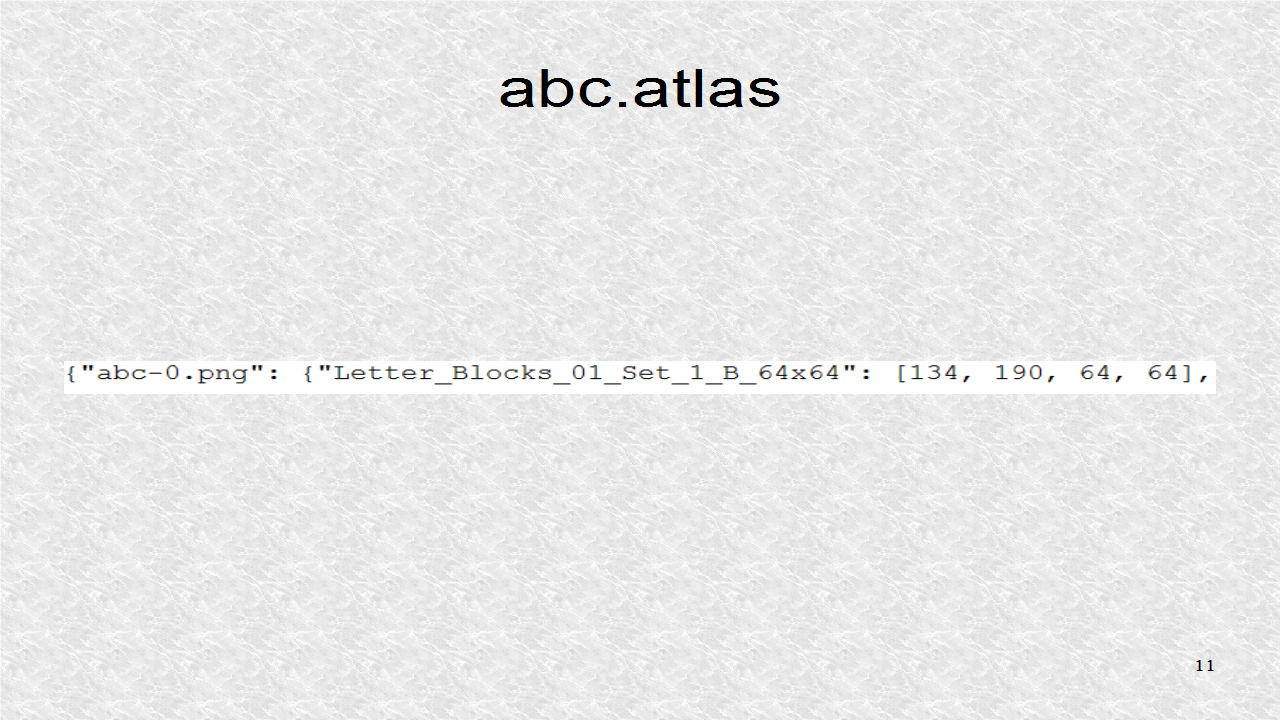
This shows a part of abc.atlas. First, we have the image filename, and then the images and bounding boxes. Note, this bounding box is 64 by 64, the size of the image.