ListView adapters are used with data from files.
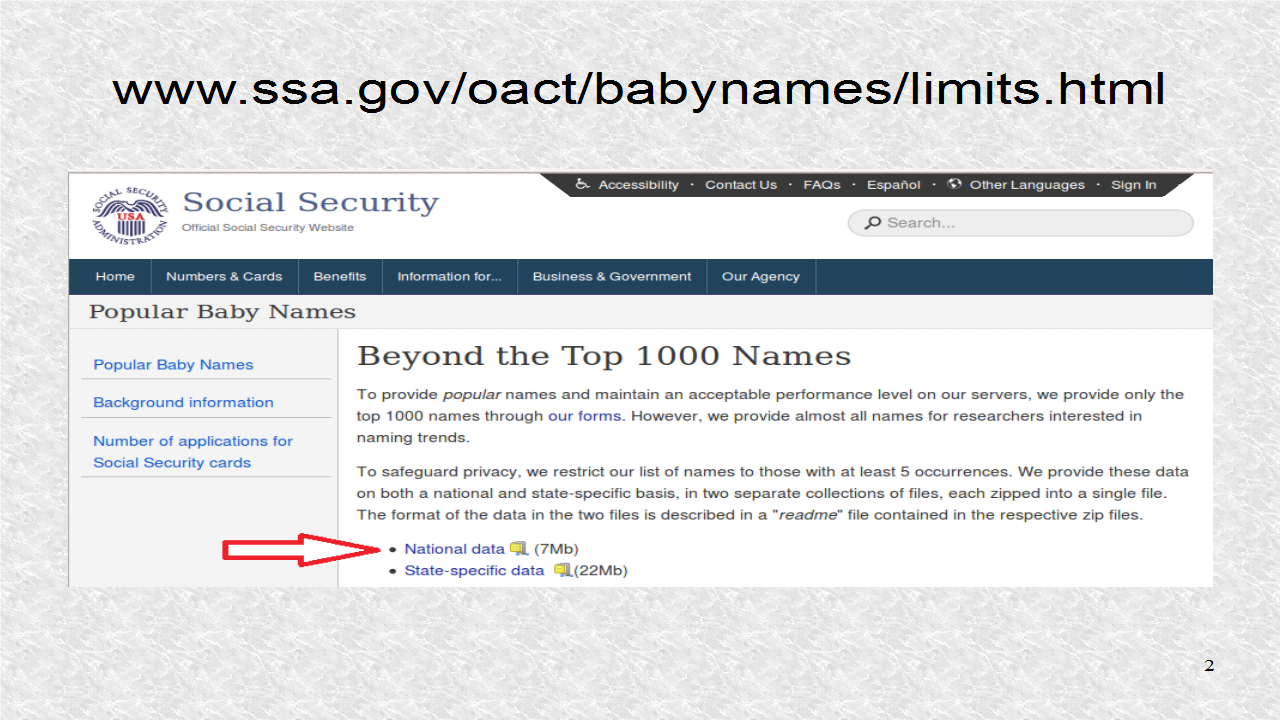
On this webpage, you can download a zip file. The particular file used was the first one, for national data. Once the file is downloaded, it should be extracted into a folder, say data.
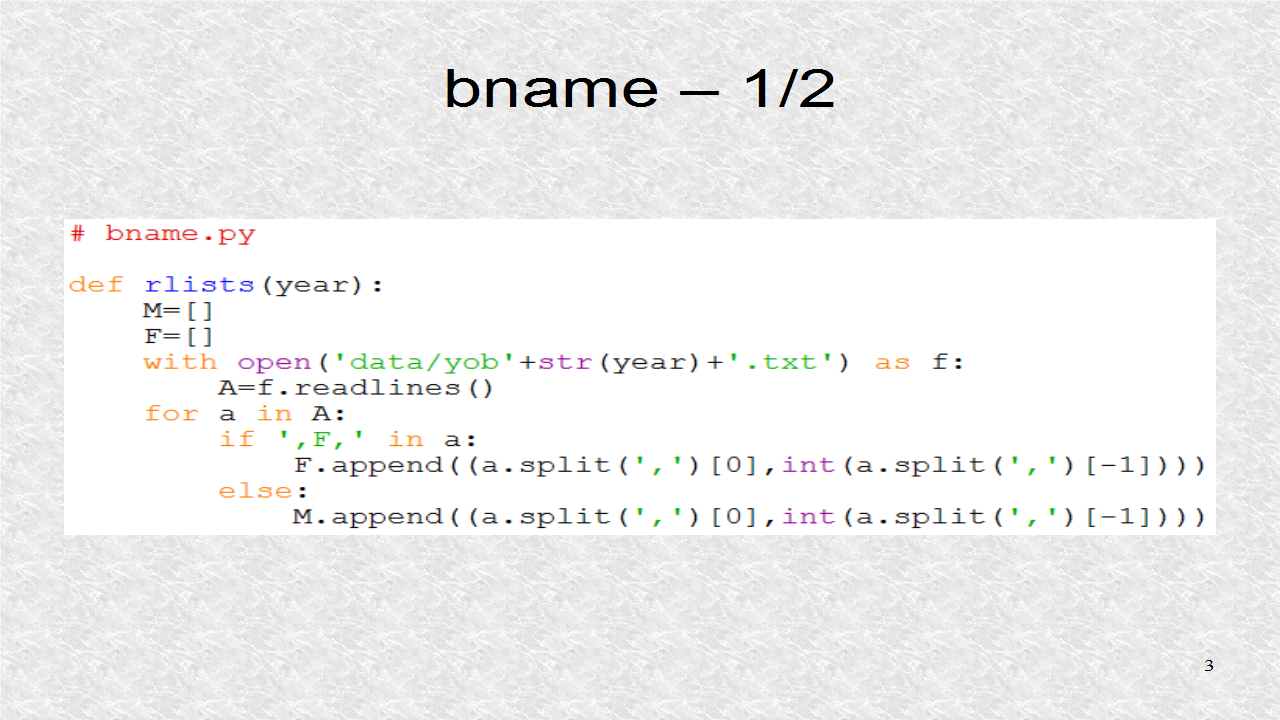
A python file, will be written, to read the data, in the folder, with that name. All data files have the form of 'yob', year, '.txt'. To see the structure of the file, you can open one of the files in a text editor. The data is comma formatted, which is the reason we split at comma. For Female and Male, we create two lists, F and M, which are lists of tuples.
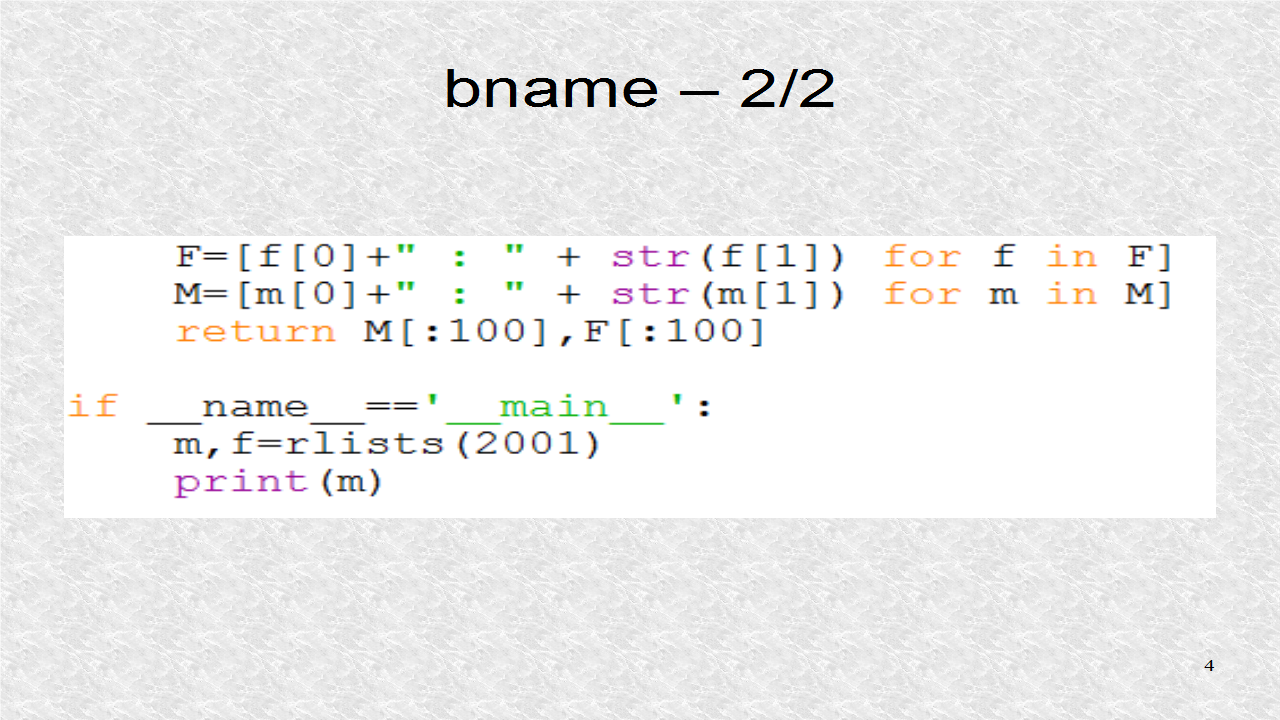
Next, we change list of tuples, to list of strings, with same names. This way, we do not have to write code, for argument conversion, in the ListAdapter. Finally, there is some test code, which shows how the function can be used.
# bname.py

def rlists(year):
    M=[]
    F=[]
    with open('data/yob'+str(year)+'.txt') as f:
        A=f.readlines()
    for a in A:
        if ',F,' in a:
            F.append((a.split(',')[0],int(a.split(',')[-1])))
        else:
            M.append((a.split(',')[0],int(a.split(',')[-1])))
    F=[f[0]+" : " + str(f[1]) for f in F]
    M=[m[0]+" : " + str(m[1]) for m in M]
    return M[:100],F[:100]

if __name__=='__main__':
    m,f=rlists(2001)
    print(m)
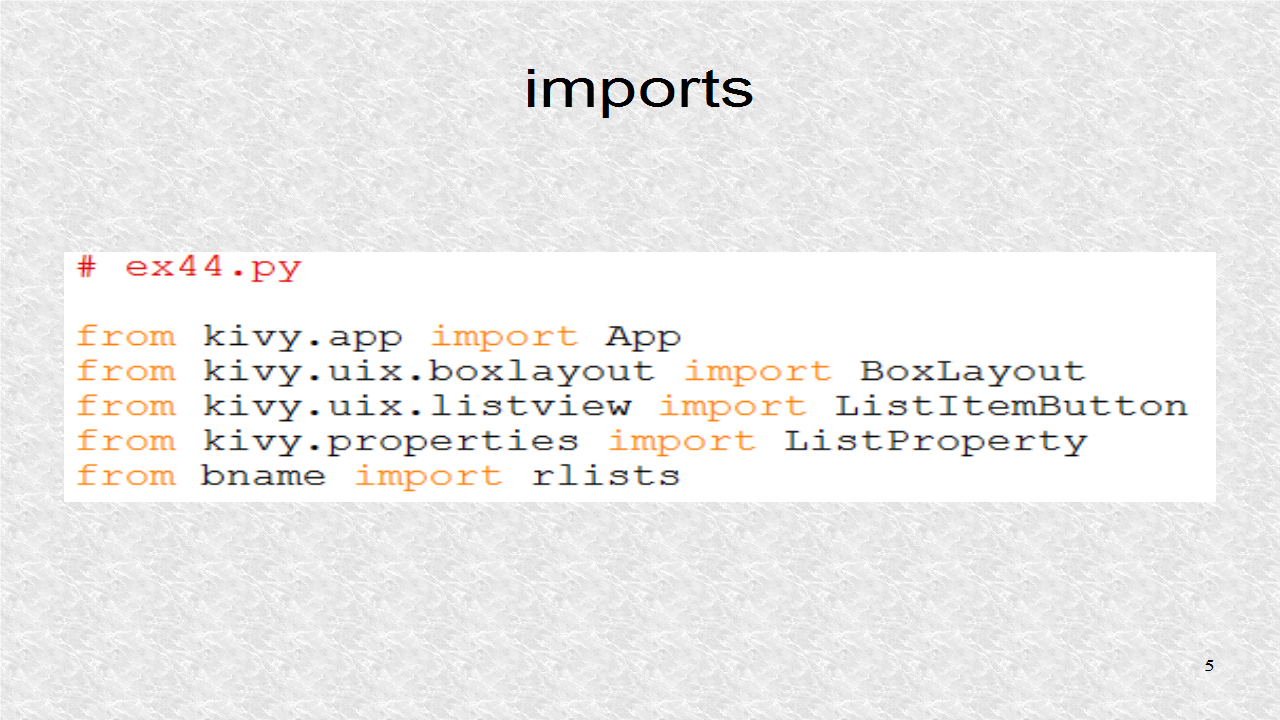
In the application's python file, these are the imports. The root is based on BoxLayout. The ListItemButton, is imported, to create subclasses, for the 3 ListViews. Each ListView, will be associated, with a ListProperty. Finally, the function rlists, in the module bname is imported.
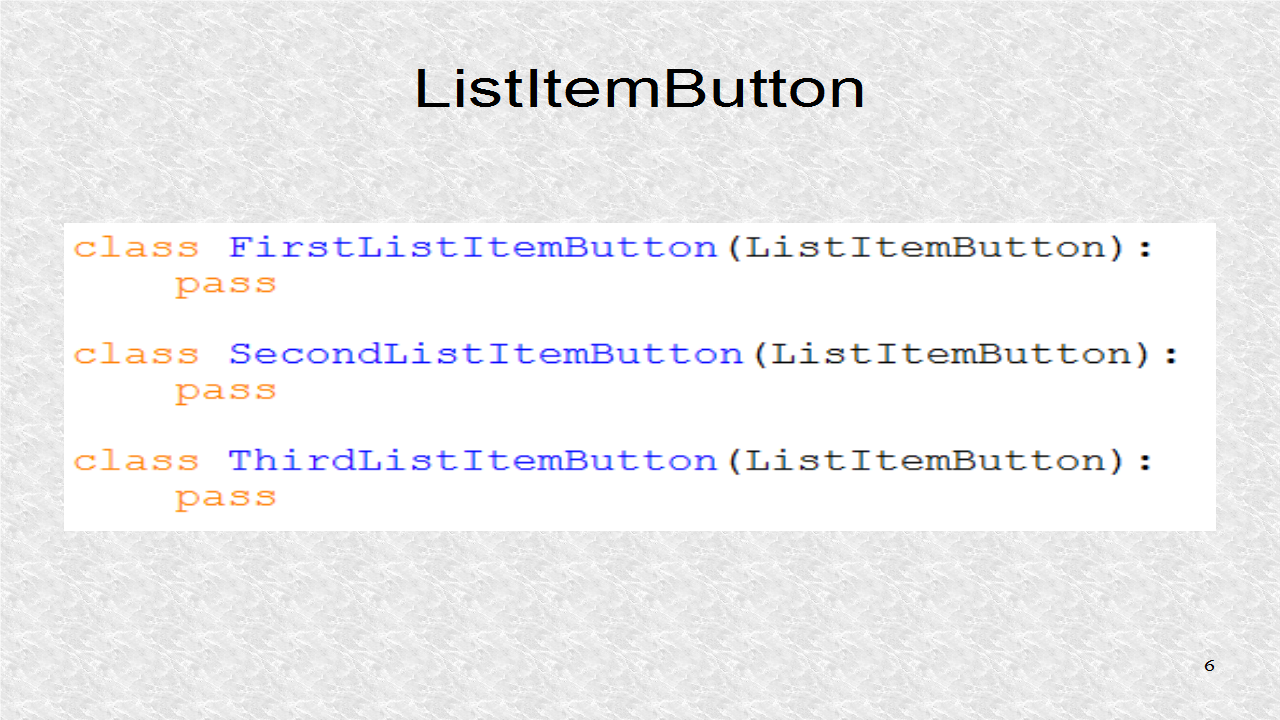
The three ListItemButton subclasses, for the three ListViews, are created.
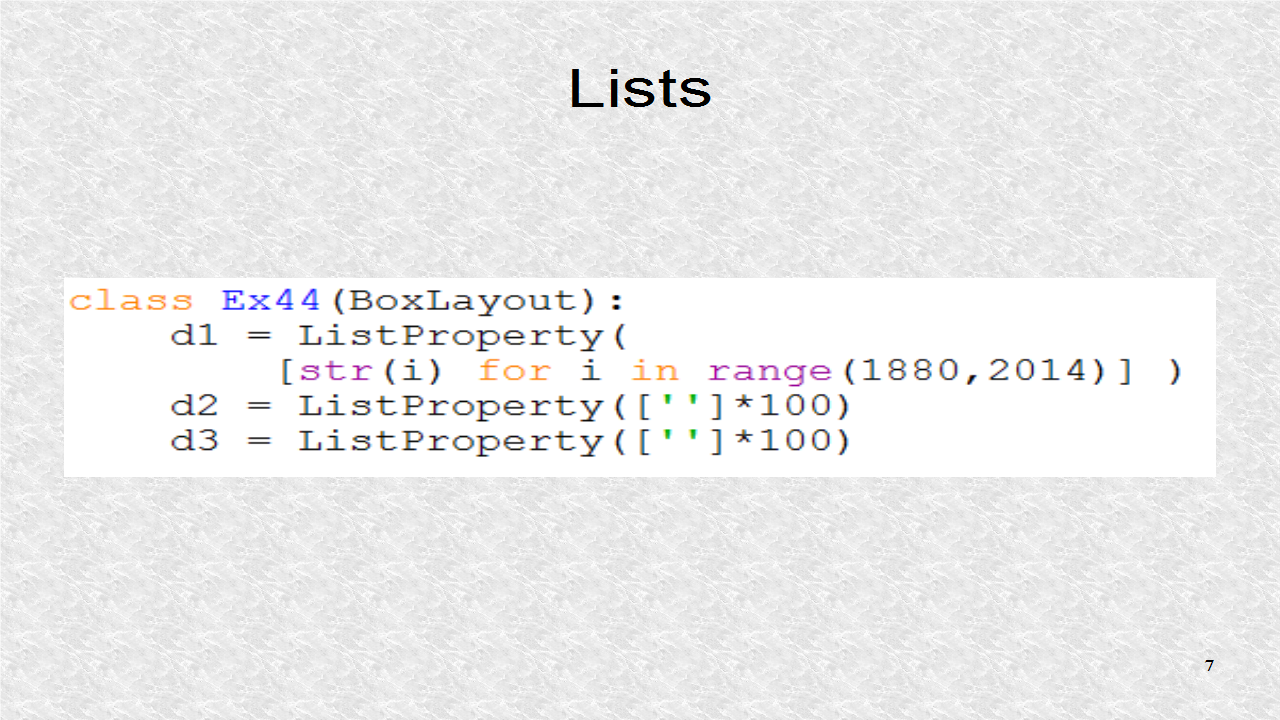
In the root, we have three ListProperties, for the 3 ListViews. The first one, d1, will have, all the years, in the data, from 1880, to 2013. The Python range function, goes from first number, to last number, minus 1. The d2 and d3, are initialized, as 100 empty strings. The reason, we initialized them, with empty strings, is so that, empty buttons, are visible, at startup, for Lists 2 and 3.
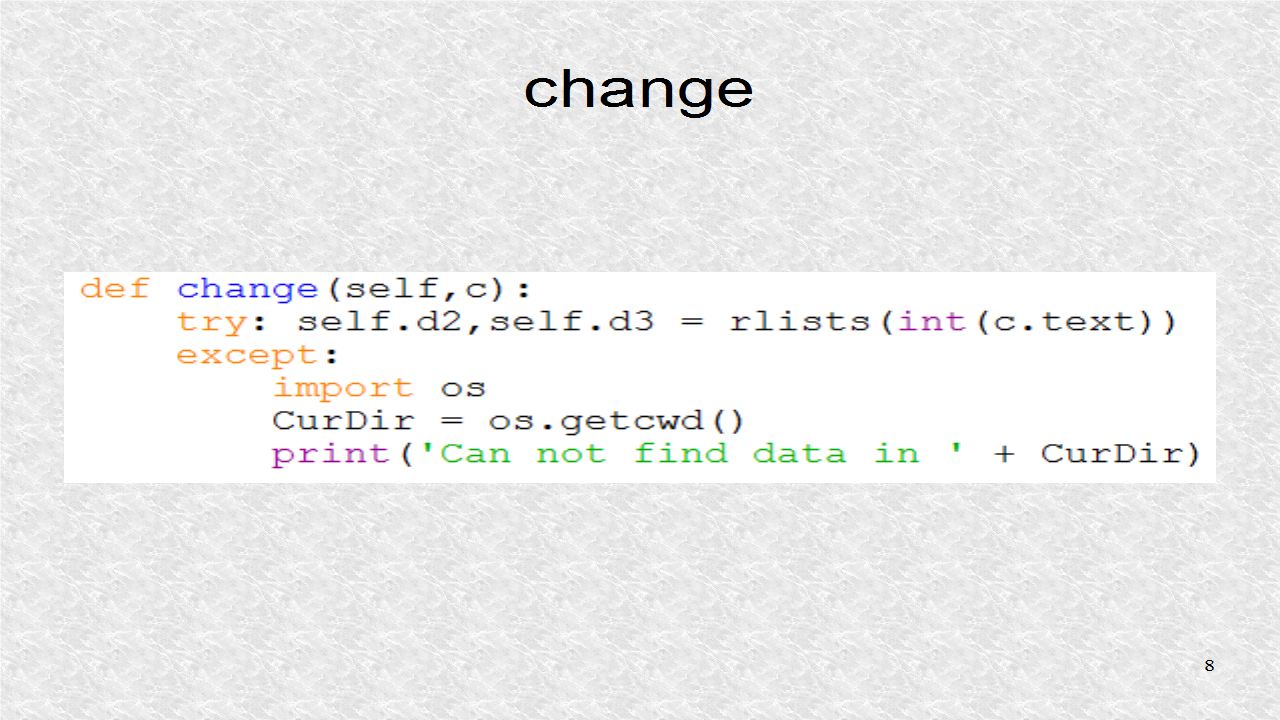
From the kv file, this function is called, whenever a year is selected in ListView1. We try to read, male, and female data, in to lists, d2, and d3. If we can not, an error is written to the screen. The most probable reason, is data, is not stored, in the correct directory, and thus we write, the current directory name. Once you put data in that directory, the program should be rerun.
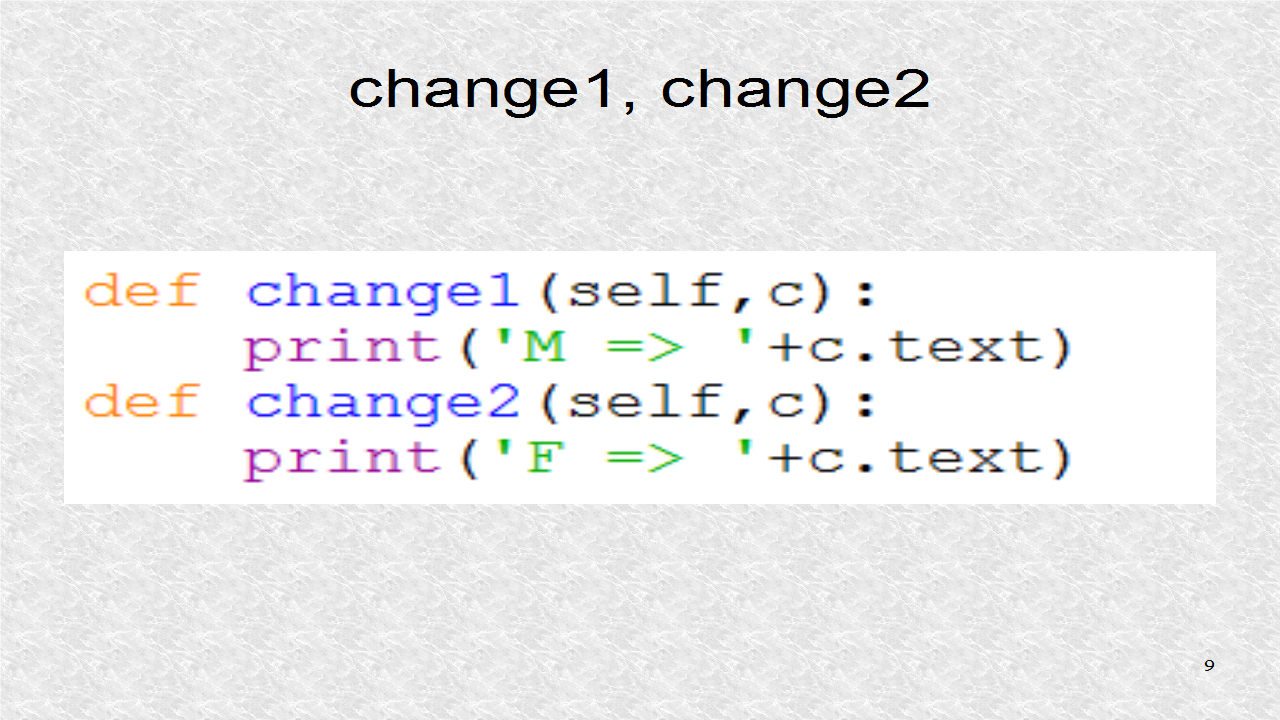
These functions are called, when an item in Listview2 or Listview3, is selected. It just prints, the text of the selected item.
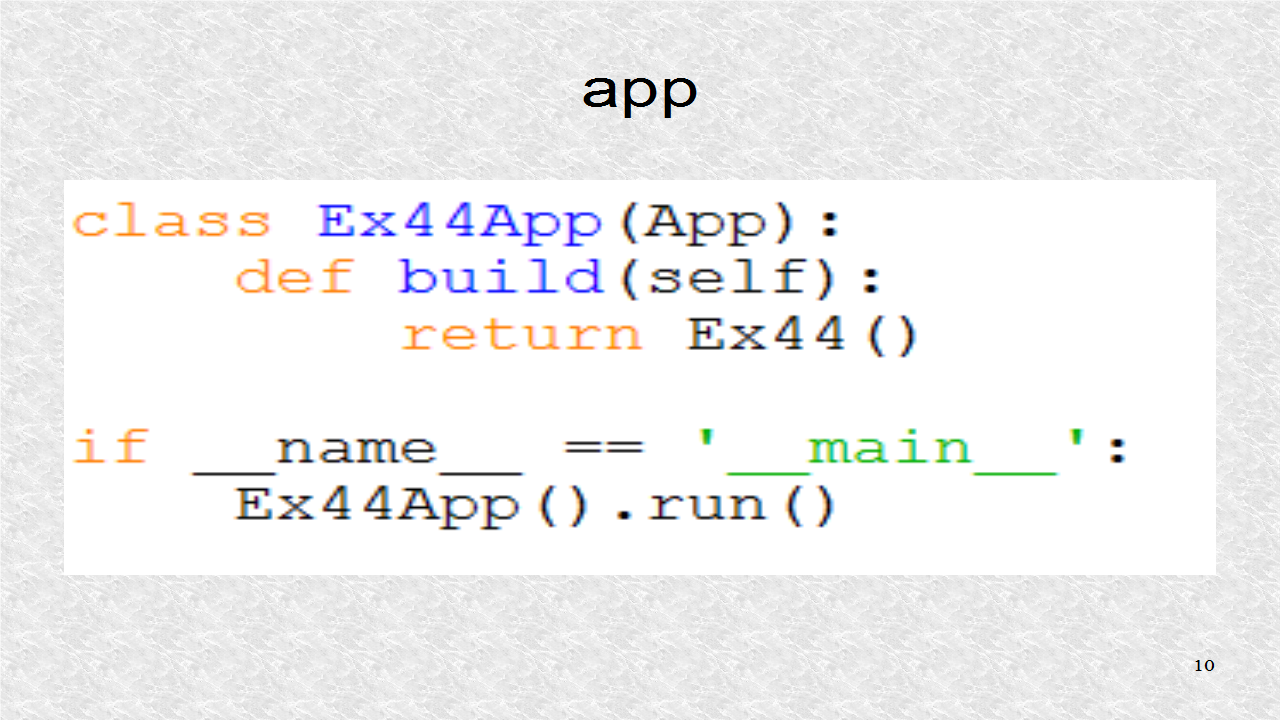
The app code must exist for the main python file.
# ex44.py

from kivy.app import App
from kivy.uix.boxlayout import BoxLayout
from kivy.uix.listview import ListItemButton
from kivy.properties import ListProperty
from bname import rlists

class FirstListItemButton(ListItemButton):
    pass

class SecondListItemButton(ListItemButton):
    pass

class ThirdListItemButton(ListItemButton):
    pass

class Ex44(BoxLayout):
    d1 = ListProperty(
        [str(i) for i in range(1880,2014)] )
    d2 = ListProperty(['']*100)
    d3 = ListProperty(['']*100)
    def change(self,c):
        try: self.d2,self.d3 = rlists(int(c.text))
        except:
            import os
            CurDir = os.getcwd()
            print('Can not find data in ' + CurDir)
    def change1(self,c):
        print('M => '+c.text)
    def change2(self,c):
        print('F => '+c.text)

class Ex44App(App):
    def build(self):
        return Ex44()

if __name__ == '__main__':
    Ex44App().run()
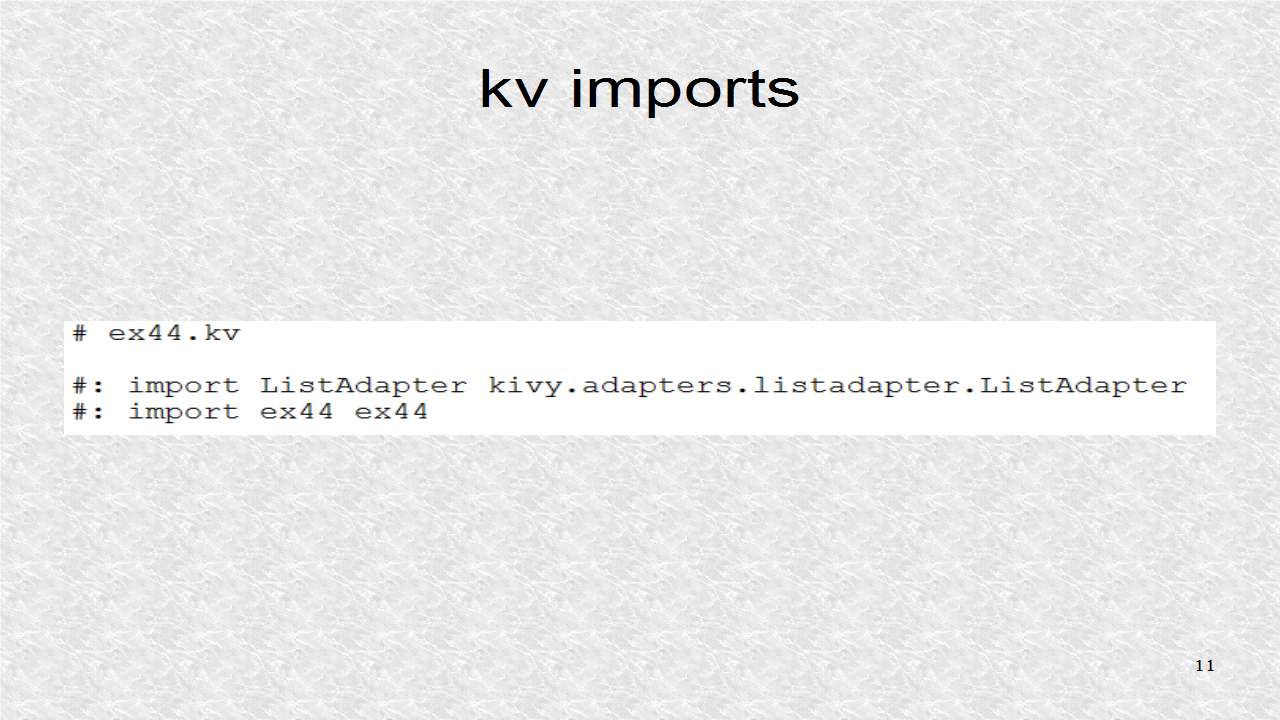
In the kv file, we import the ListAdapter, and the main python file. In the Last tutorial, we imported the ListItemButton. But now we want to import the subclasses of ListItemButton, which are in the main python file.
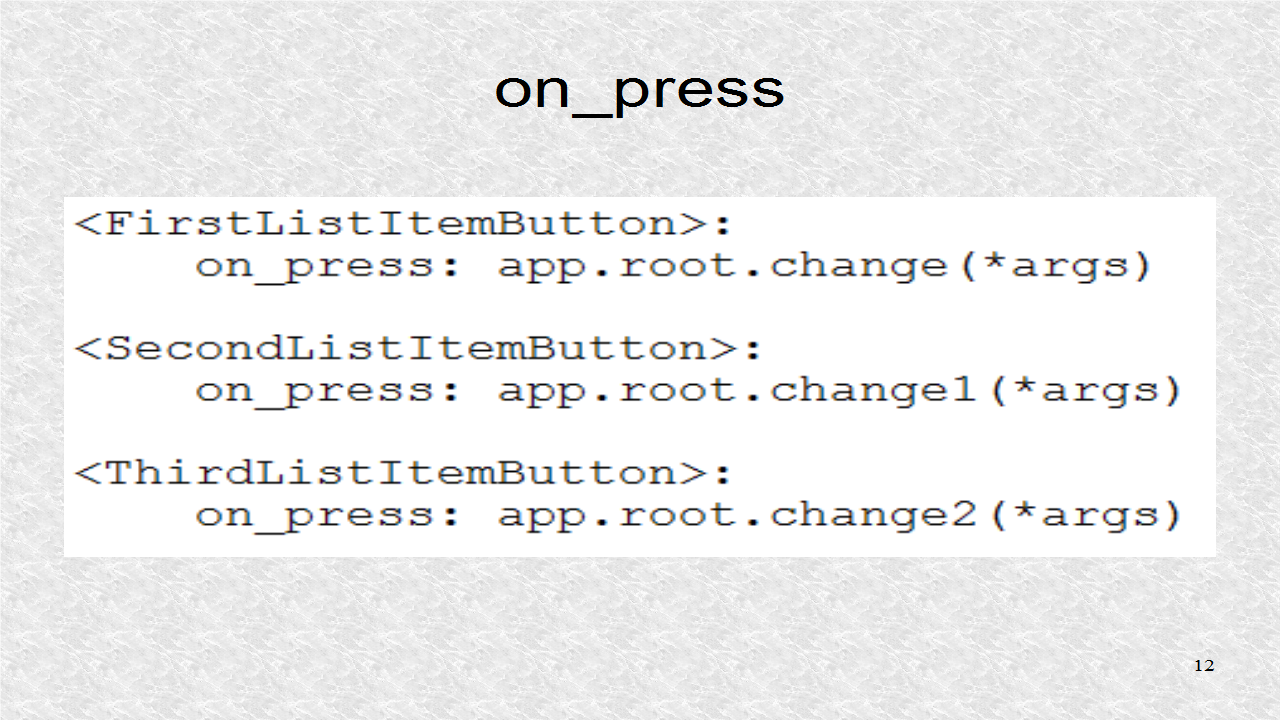
We select the appropriate change function, depending on which item is selected.
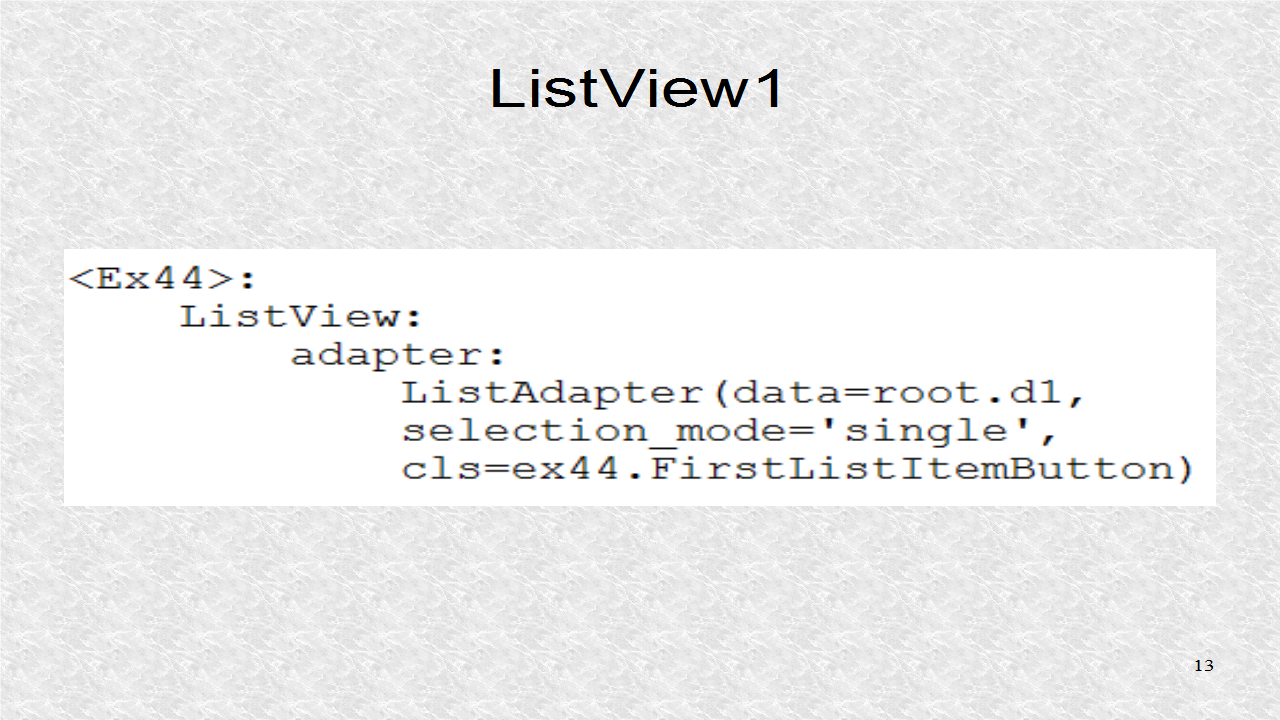
ListView1 uses the List d1. Now, cls points to the correct subclass.
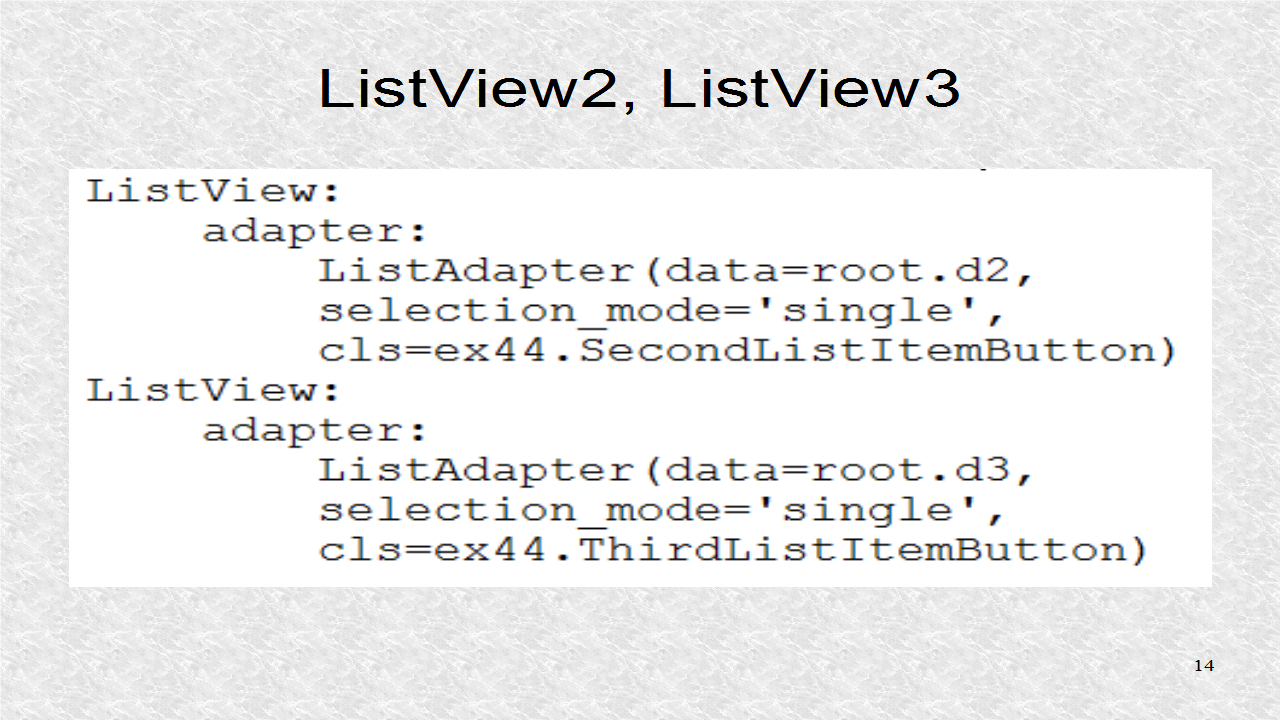
ListView2 and 3, use Lists d2 and d3. cls points to the appropriate ListItemButton subclass.
# ex44.kv

#: import ListAdapter kivy.adapters.listadapter.ListAdapter
#: import ex44 ex44

<FirstListItemButton>:
    on_press: app.root.change(*args)

<SecondListItemButton>:
    on_press: app.root.change1(*args)

<ThirdListItemButton>:
    on_press: app.root.change2(*args)


<Ex44>:
    ListView:
        adapter:
            ListAdapter(data=root.d1,
            selection_mode='single',
            cls=ex44.FirstListItemButton)
    ListView:
        adapter:
            ListAdapter(data=root.d2,
            selection_mode='single',
            cls=ex44.SecondListItemButton)
    ListView:
        adapter:
            ListAdapter(data=root.d3,
            selection_mode='single',
            cls=ex44.ThirdListItemButton)
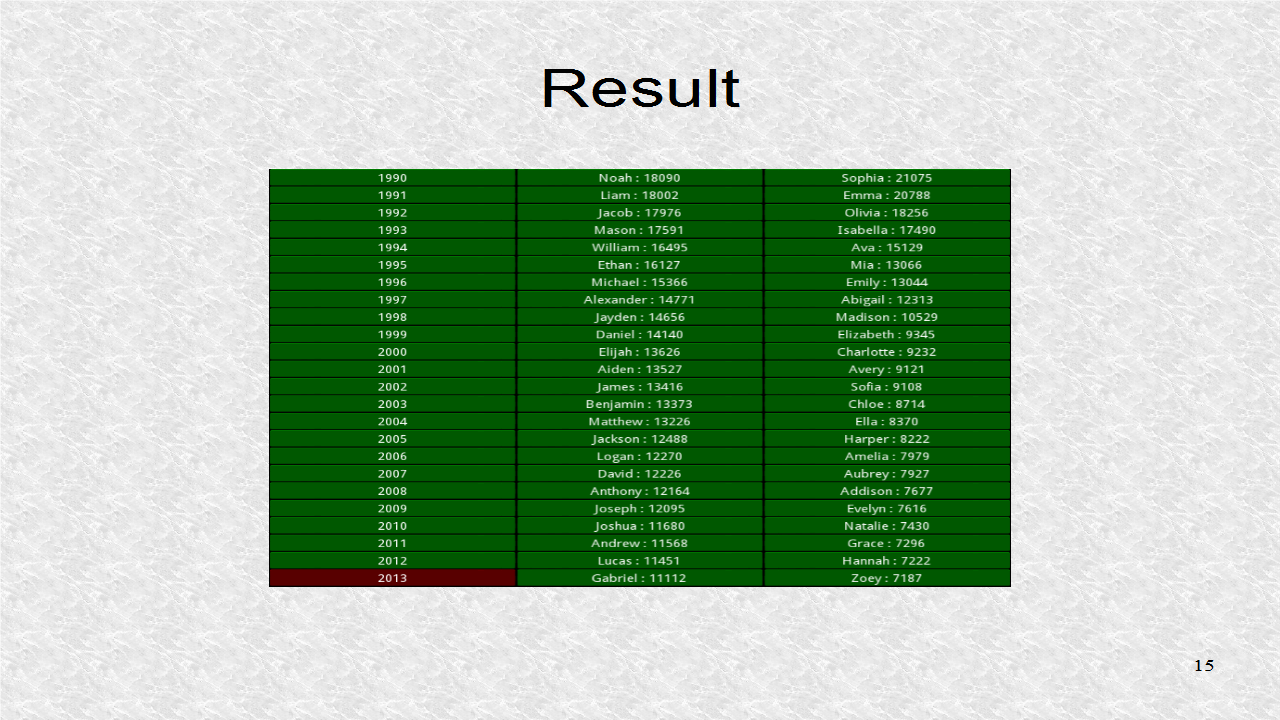
This is the result, when the year, 2013, was selected. The Male and Female Lists have the top 100 names. You can scroll up, and down, the list. There are many ways to optimize reading of the files and make it independent of filesystem. We could easily create a new Python file to hold the lists. One particular implementation is shown next.
# dataTopy.py

def rlists(year):
    M=[]
    F=[]
    with open('data/yob'+str(year)+'.txt') as f:
        A=f.readlines()
    for a in A:
        if ',F,' in a:
            F.append((a.split(',')[0],int(a.split(',')[-1])))
        else:
            M.append((a.split(',')[0],int(a.split(',')[-1])))
    F=[f[0]+" : " + str(f[1]) for f in F]
    M=[m[0]+" : " + str(m[1]) for m in M]
    return M[:100],F[:100]


if __name__=='__main__':
    wout = []
    wout.append('# data.py\n')
    wout.append('dtM={}\n')
    wout.append('dtF={}\n')
    for year in range(1880,2014):
        a,b=rlists(year)
        wout.append('dtM[{}]={}\n'.format(year,a))
        wout.append('dtF[{}]={}\n'.format(year,b))
    wout.append('def rlists(year):\n')
    wout.append(' '*4 + 'return dtM[year],dtF[year]\n')
    fout=open('data.py','w')
    fout.writelines(wout)
    fout.close()
    # In ex44.py, only 1 change
    # from bname import rlist
    # -> from data import rlist


